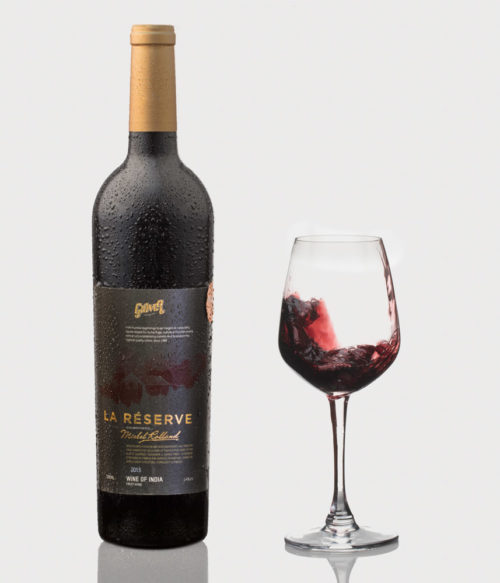
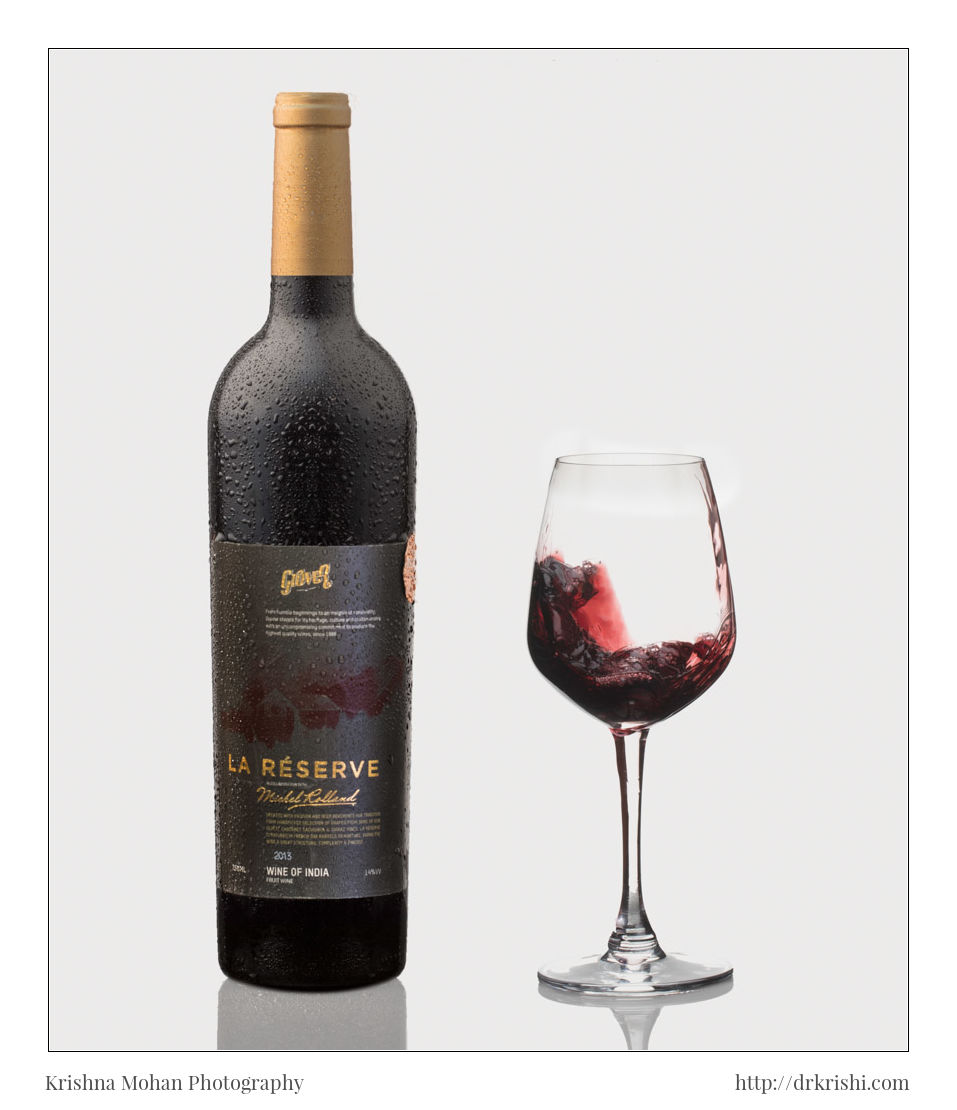
I conducted a very productive and successful, Product Photography Workshop on Sunday, 23rd July 2017 at Bengaluru. One of the demonstration was on how to capture a wine bottle with a wine glass. This is a classic lighting using a softbox and a diffuser to produce a nice gradient on the bottle. Final result after post processing can be seen above.
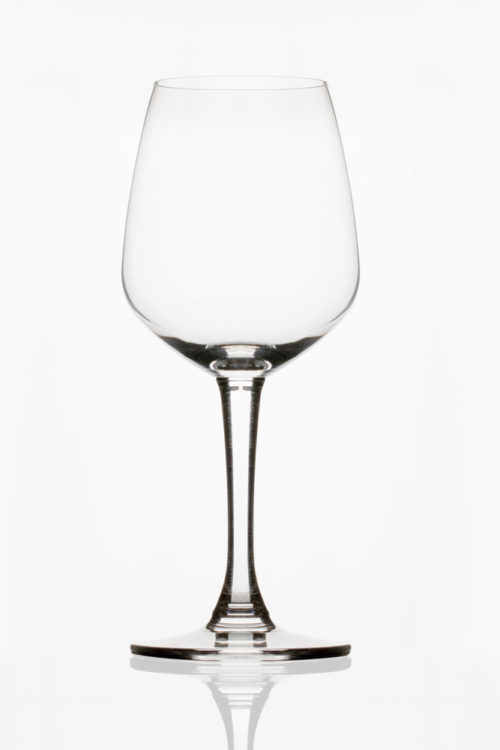
I started off capturing the empty Wine glass on clean white background. The glass was placed in such a way so as to capture the reflection of the glass as seen above. While most people think shooting a glass is a difficult task, I disagree as if proper techniques are used, glass is very forgiving if you know where to place the light and the basic idea of lighting a glass.
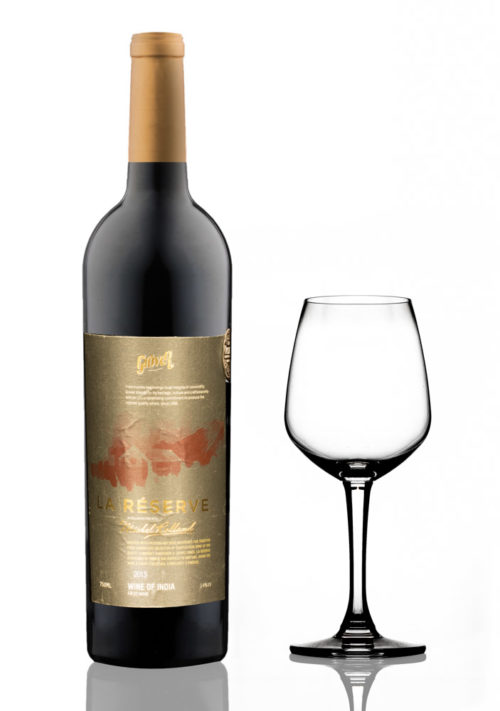
We experimented with different types of lighting and understood between bad light and good light and how to get results we want. Finally, it was time to show what is the correct way to light it well. You can check that image here after a little post processing.
Next was to spray the bottle with a glycerine + water mixture so that it will start crying, 😉 no, it will look like a frosty bottle just taken out of the cooler. As a demo, I have created the flattering light only the left side of the bottle. Since it can be easily flipped over and corrected in Photoshop as seen in the Post processing video.
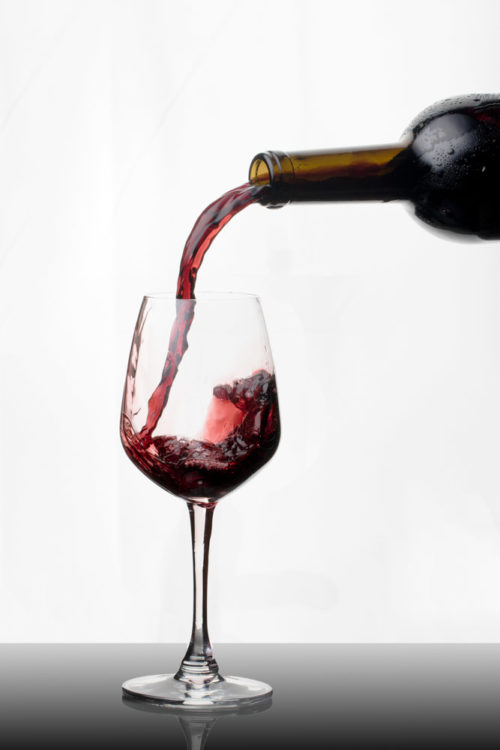
For the action shot, we opened the wine bottle and captured the action of pouring wine into the glass. I later composited this swirled wine along with the glass with the bottle shot so as to make the final image.
All the post processing was accomplished in Photoshop using few simple steps. Here are the post process steps which took place. I have created a short video explaining the steps used in the post processing. Enjoy watching it.
[youtube]qVaiVoC0vNo[/youtube]

[ಸಣ್ಣ ನಿರಾಶೆ – ಬಾಟಲ್ ಬಂತು, ಚಷಕ ಇತ್ತು, ಬಿರಡೆ ಹೋಗಿ ಕಷಾಯ ಬಿತ್ತು, ಓ ವಿಡಿಯೋದಲ್ಲಿ ಪರಿಣಾಮ ಸಿಕ್ತೂಂತ ಎಣಿಸಿದೆ ]