
In my Earlier blog I had briefly described how to get sharper photos for closeups. Many of you have asked me to give much more detailed tips to produce sharper photos.

Here are few tips to get sharper photos.
Use the sharpest aperture of your lens – All camera lenses have their sharpest result at one particular aperture. This is typically 2 to 3 stops narrower than the widest aperture of the lens, putting it around f/8 on most lenses. Remember despite that being sharpest, choice of aperture should also be based on other considerations like acceptable shutter speed and depth of field you are expecting.
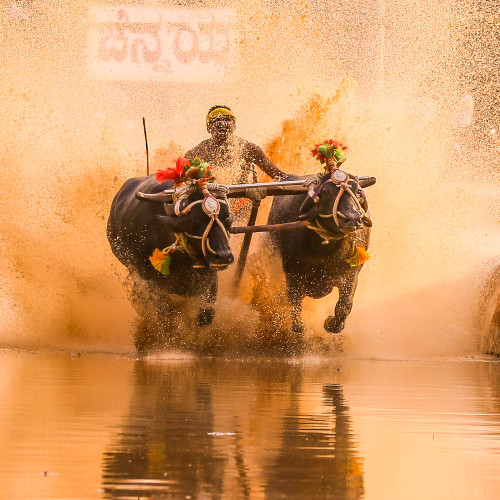
Increase your shutter speed – A faster shutter speed is less susceptible to movement, so increase it as far as you can. The rule of thumb that says to use a shutter speed of at least “1/focal length”. So for a 200mm lens you’d want to use a speed of 1/200 of a second or faster. Stay higher than that speed to get better sharpness.

Shoot in burst mode – Rather than taking photos one at a time, switch your camera to its continuous shooting (burst) mode. You’ll usually find that if you fire off 5-8 shots at a time, 1 or 2 will be sharp. Be sure to bring a big memory card as this will hog as lot of memory on the card.

Shoot at lowest ISO possible – The higher your ISO speed, the more noise you’ll get in your photo which causes sharp details to appear fuzzy, affecting the overall sharpness of the image. If Light is good use your camera’s lowest ISO setting (typically around ISO 100 or 200), as long as it doesn’t adversely affect other settings such as your shutter speed.

Use single point autofocus – Single point focus mode tells your camera to focus sharply on just one point. Before composing your shot, focus by aiming this point at your subject and half pressing the shutter. Focus indicator will tell where you have focused, which will keep the subject as sharp as possible. Focus on the eyes to make the picture look sharper.
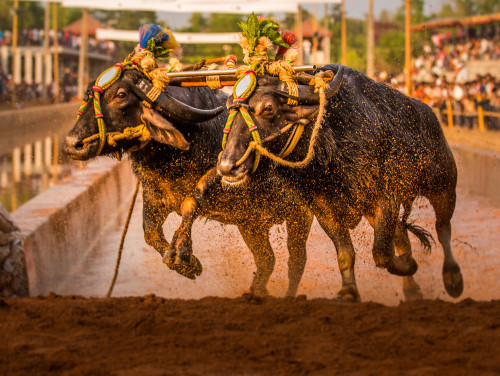
Use a tripod – For the ultimate in sharpness you need to use a tripod, all the time, even if you’re shooting in very good light. Buy good tripods which is very sturdy, you will see how they’ll transform your photos. Tripods are just like lenses, better ones give sharper results and are equally sharp at cutting your pockets.
Make your tripod sturdy – The purpose of a tripod is to hold your camera as still as possible, so you need to make sure yours is nice and sturdy. Avoid extending the centre column and legs of your tripod more than is necessary. The taller you make your tripod, the more it will wobble, and the harder it’ll be to get pin sharp images. Hang something like a Camera bag from it to provide extra stability.

Turn image stabilizer off when on tripod – When your camera is mounted on a tripod, older image stabilisation systems get confused, so it’s best to disable them completely to improve image sharpness when shooting using a tripod.
Turn image stabilizer on when you hand hold – When you are hand holding camera, image stabilization can give you as much as 2 to 3 extra stops of exposure, which can help you to take sharp photos during low light situation, when you cannot follow faster shutter speed as per the rule of thumb mentioned above.
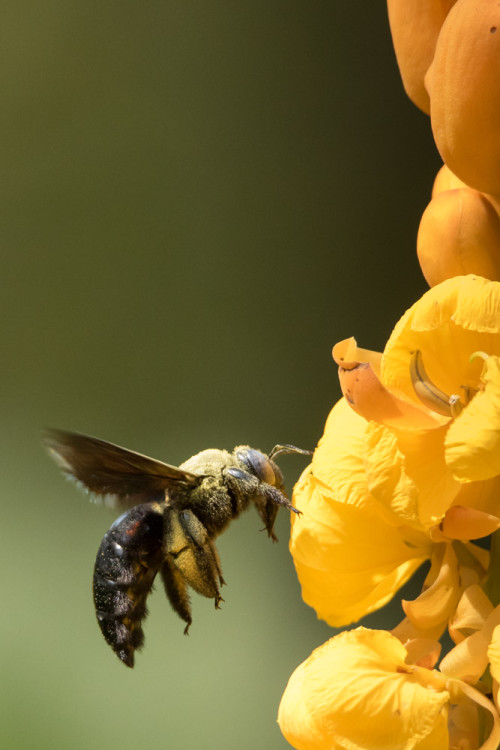
Steady yourself – When hand-holding your camera, the biggest source of vibration and movement is your body, so try to hold it as still as possible. Tuck your arms into your sides or lean up against a wall or tree for some extra support. Try to breathe slowly and gently, and press the shutter button in between breaths when you’re relatively still.
Find a good support – If you do not have a tripod, or if it is not allowed to be taken (few places do not allow tripods), make use of other surfaces to rest your camera. Supporting or holding close to the wall or a pillar, or wedging your lens between the wires of a fence can help provide a bit more stability, reducing blurring in your photos.

Find a better Lens – Good quality lenses do make a big difference to the sharpness of your photos, and more expensive lenses are generally sharper than cheaper ones. Warning: these sharper lenses may also adversely affect your financial stability 😉
Avoid lens filters – Filters like UV filters are redundant and reduce the sharpness of your lens, affecting the final image quality. If you like to use them for protection of the front of the lens, take them off during shooting to improve clarity.

Chimping helps – After taking a shot, use your camera’s playback feature on LCD (chimping) and zoom in to 100% to check how sharp it is. Use a LCD loupe to see the playback better during daylight.
Squeeze the shutter button – When pressing the shutter button, do so as gently as you can. Make sure your finger is in contact with the button to begin with (rather than hovering over it) and gradually squeeze down on it by tightening the finger pressure on the shutter button rather than jabbing it quickly. Once the button is down, hold your finger there until the camera has finished taking the shot. Don’t release it in a hurry.

Use a remote cable release – Despite all the precaution mentioned above, pressing the shutter button on your camera can cause minute shaking which can lead to noticeable motion blur in the final photo. A cable release or remote control is an inexpensive way of avoiding this problem. Alternatively, use your camera’s self-timer for any vibrations caused by touching the shutter button to die down.
Use mirror lock-up – When you press the shutter button, this mirror flicks up out of the way, and this can cause the camera to move slightly. Mirror lock-up holds the mirror in its retracted position, so that when you take the shot it doesn’t need to move. Most digital SLRs have this feature, and it can make a big difference to how sharp your photos turn out. You can also activate shutter from the live view mode, which works similar to mirror lock-up.

Sharpening photos in editing software – No matter how careful you are to keep vibrations to a minimum while shooting, all digital photos need a bit of sharpening in a graphics program such as Photoshop or Lightroom. If you shoot in Raw format, this post processing is a must. If you shoot in JPEG, camera already applies this sharpness for you, which you can tweak later.


Very useful tips Doc. We compromise on one of the techniques most of the times and blame the camera / lens. It’s perfectly possible to shoot decent pictures with reasonably decent gear if one observes these points.
Great Sir. Wonderful tips. In my next 3 holidays I will make use of these tips and try to get some sharp pictures.?
Basic tips which makes a lot difference to our Photography. Keep posting such articles.
wonderful pictures its inspir to me Thanks for tips sir
Wonderfully written sir. simple but very effective —- leaning on wall or tree to get extra stability!!!!