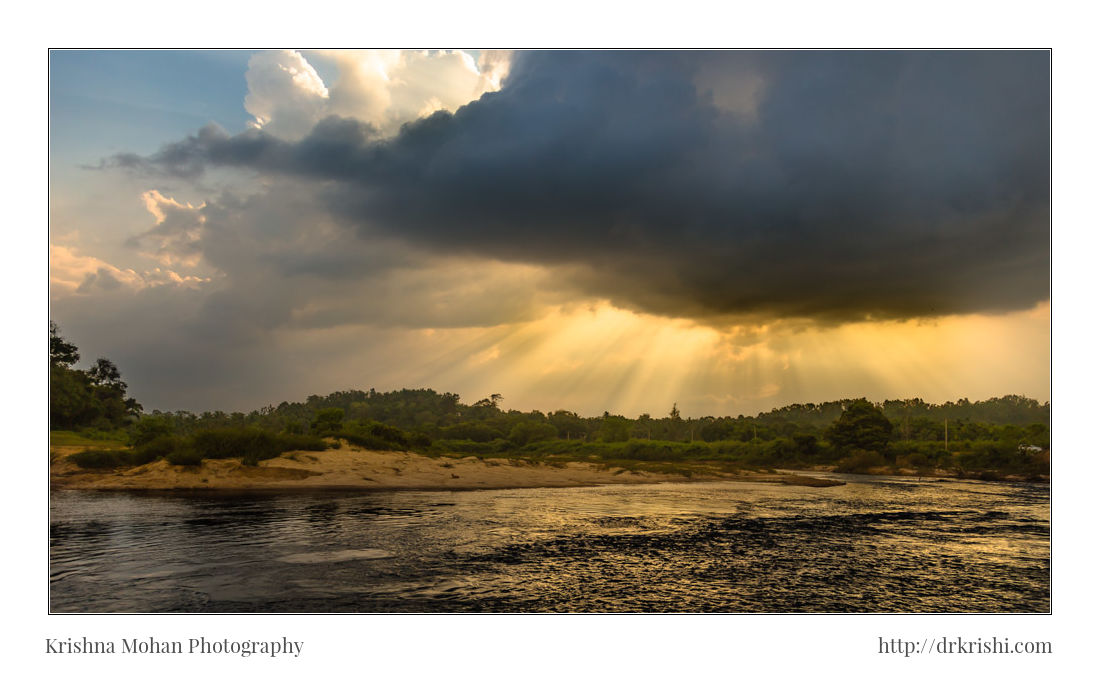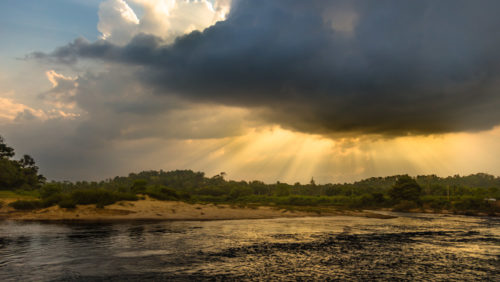
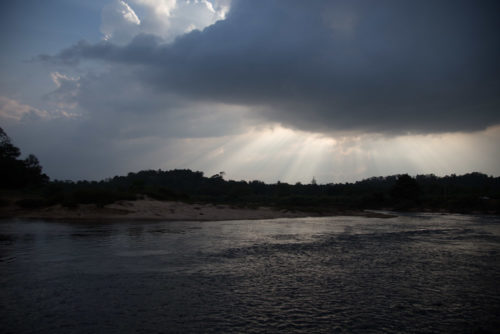
Two weeks back I was asked by Sleeklens to review their Through The Woods set of Lightroom Develop presets and brushes. I usually don’t use presets made by others in my workflow and most of my presets are my own workflow which in turn is saved as presets. Last year I had tried few presets created by others only to get disappointed with the end results. Develop Presets are files that allow Lightroom to apply particular Develop settings to an image. They appear on the Left side of the Develop Module in the Presets Panel. They’re also available in a drop-down menu in the Quick Develop panel in Library.
The installation of these Lightroom Develop presets and brushes was very simple. Downloaded presets and brushes with instructions came in a single zip file. Copying these files to appropriate folders inside the Lightroom preset folder as well as brush folder is all that takes to install it. If you fumble, there is an instructional pdf to guide you through inside the downloaded zip file.
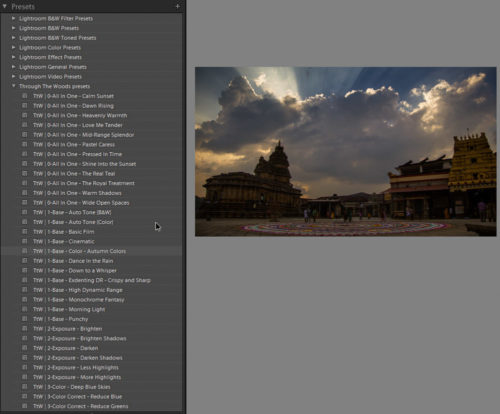
Once installed there are about 80 different Lightroom Develop presets divided into logical groups. These preset appear on the left of the screen when you’re in the Develop module. A set of all-in-one presets which give you a series of fully finished ‘looks’. Then there is a set of base presets that give you a selection of starting points for further post-processing. If you don’t like the finished presets, you start with these base preset which allows you to layer various presets on top of each. Start with a base preset followed by sets of exposure presets, colour correction presets, tone, polish and vignette. By layering each of these presets on top of each other you can gradually develop an overall look that you wanted.
Remember, presets should help you to tell the story you wanted to tell when it was difficult to capture what you saw through your eyes. Presets ideally should be your starting point for that correction you chose and then alter various sliders to get precise effect you want. Don’t depend solely only on the preset to give you the perfect result just as soon as you apply them.

There are also a bunch of around 42 new brushes which are accessed through the Lightroom brush tool and allowed me to make a wide range of alterations locally across my shot. Since brushes are usable in all the local adjustment tools Lightroom has (graduated filter, radial filter and adjustment brush) the choice was an unlimited local correction. You can put various brushes with several different presets to enhance the effects. I could stack these on top of each other to get to my final look. The brush names are clear and easy to understand and generally do what they suggest e.g. darken, darken shadows, etc.
Some work well, others probably work better depending on the type of shot you’re applying it to, while others still will want some tweaking according to taste and desired result. Most of the time I use presets as my starting point and then start tweaking the sliders to get the effect I want, I also save the new tweaks I create as the new preset of my own.
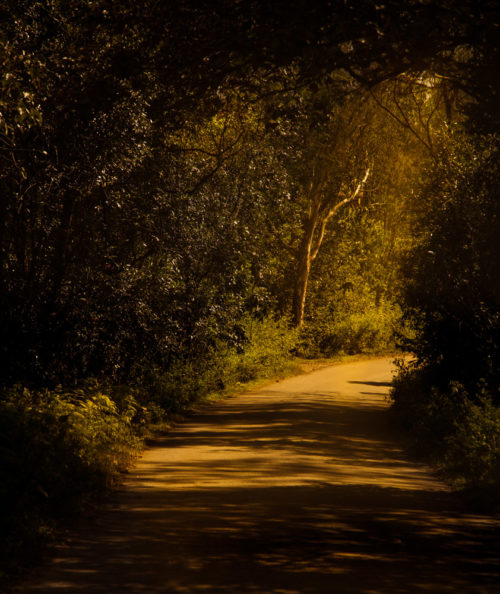
One word of caution. Be careful accumulating a lot of LR presets. It is easy to be lulled into the idea that presets are these easy “one-click” great looking finished photo shortcuts, but they rarely work like that.
They may give you some inspiration on the way you want to go in processing your image, but they seldom get you all the way there. You are really much better off in my opinion to learn what the various adjustments in Lightroom do and then if you have a look that you create and want to save you can make your own preset. They are very easy to save once you have the adjustments you want.
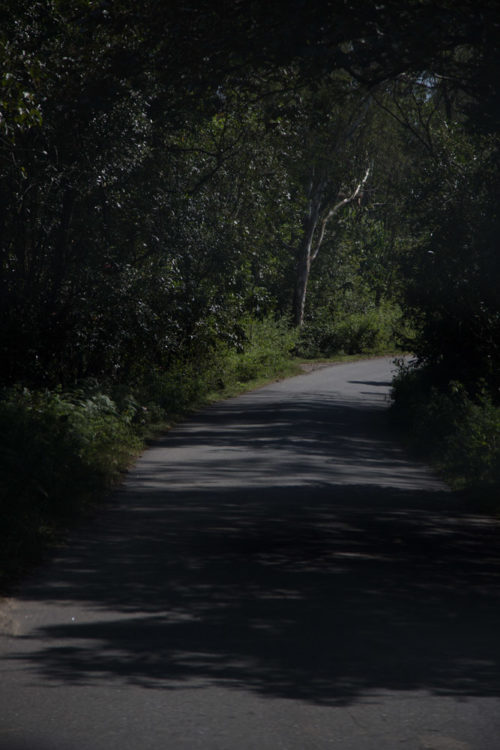
Overall the brushes and presets by Sleeklens are interesting and quick ways to explore many of Lightroom’s capabilities and achieve some quick and interesting results.
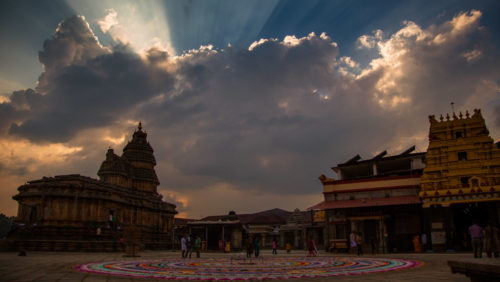
For an advanced user of Lightroom, they possibly won’t offer anything new or make workflow any easier or quicker but for those who are still exploring the many possibilities of Lightroom they’re definitely a good way to do so and provide some quick and easy looks and tools for processing some great images.
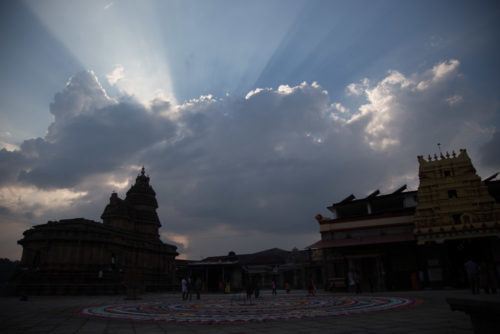
You can find more information on these presets, brushes and the workflow here: the workflow https://sleeklens.com/product/landscape-lightroom-presets/, https://sleeklens.com/product/professional-photo-editing-service/ and https://sleeklens.com/product-category/lightroom-presets
Here’s the video on how to work with Through the Woods workflow bundle:
[youtube]zPRQuHgKMk4[/youtube]
Thanks to Vrinda Kamath for providing the needed photos for this review as I did not have underexposed landscape photos which were suitable enough to get processed by these set of presets.
Disclosure: I received a free sample of Through The Woods preset from Sleeklens for this review purposes. The opinions are completely my own based on my experience. I was not required to write a positive review. I was not financially compensated for this post.

