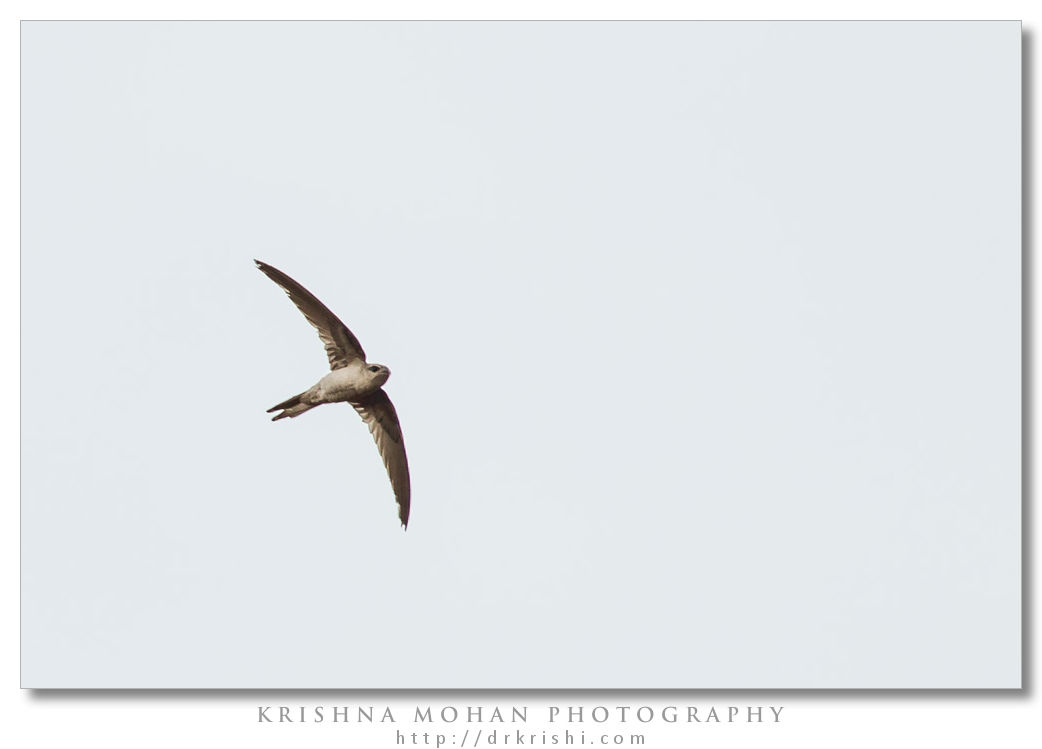
I wanted to celebrate my new year’s eve last year by capturing few birds in flight. I was at that time testing my Canon EOS 1D Mark IV fitted with Canon EF 300mm f/2.8 L IS USM + Canon EF 1.4x II Extender. I wanted to test its speed in continuous auto-focusing on a fast moving subject. Bird in flight was the perfect opportunity to test that rig. I went near Bondel, Mangalore and chose a location which was at a higher elevation. There I waited for the birds to fly by near me. I had quite a few attempts before I could capture an oncoming Black Kite (Milvus migrans) head on in my frame. This is almost the full frame shot in my camera. Later I spotted few Asian Palm Swifts (Cypsiurus balasiensis). These are very swift flyers as their name suggests and will give you a good exercise when trying to capture, especially when you have a heavy setup like mine.

Adjust your camera settings for continuous focus (AF-C on a Nikon, or AI Servo on Canon), select the proper focus point (I usually use the center point with four surrounding points to assist), a smaller aperture, and a fast shutter speed somewhere around 1/1200th of a second. Stand at a higher elevation. Usually birds in flight look best when the photographer is relatively close to the same height as the bird. This can be tricky in some situations, but know that your best photos will likely occur when the bird is swooping down low or when you can get on a hill or in an elevated bird stand.
Don’t skimp on depth-of-field. Beginning birds in flight shooters often use the lowest aperture they have available to get a high shutter speed. While a high shutter speed is certainly important, skimping on aperture is not the answer. Many birds have a large wingspan like this kite here, and a low aperture will often put the wing tips out of focus unless in same plane like mine. If you need more light to increase your shutter speed, use a higher ISO.

Image Stabilization helps a lot in BIF photos. Even though its slightly slows down the burst speed, it is useful as the hands starts shaking after a holding a heavy rig for a longer time. Image stabilized lenses often come at a premium. Cheaper lens without image stabilization does invariably need a tripod which makes it cumbersome to capture BIF. Especially for telephoto lenses, your image stabilization will be absolutely vital to the success of your photography of birds in flight.
Pay attention to the background. While a background of a pure blue sky can work in some situations, many birds in flight images will be much stronger if a more interesting background is captured. Unfortunately January sky that day for me was featureless white. Wait for the birds to swoop down low where trees or water can provide a compelling background. Metering the bird and not the background is important as the sky is usually brighter than the bird. Camera meters for the sky and bird may look under exposed. As spot metering a fast moving bird is impossible, EV compensating by over exposing than the meter says by a f stop most of the time helps.
Usually back lit birds will not be as nice-looking as front-lit birds. Simply planning to stand in the correct spot will significantly improve the quality of your images. Shoot in short bursts of 2 or three images. This will increase your chances of getting a sharp photo without filling your buffer too quickly. It will also gives rest to your aching arms.
Shoot with both eyes open. This is a matter of personal preference, but I learned how to shoot with both eyes open because with that I can see the environment along with the bird. Applying this technique in photography allows you to see what is in front of the bird so you can prepare your shot. If the bird is swooping down to catch an animal, I can see it before it’s too late.


That was a quick reckoner for BIF.
Dr.Krishi nice quick tips on BIF, thank you, I just happened to read it after I came back from a shoot (an unsuccessful one). There were “Wire Tailed Swallows” just behind our apts and other ones just like Asian Palm Swallows you captured, I just could not capture even one frame successfully 🙁 tried in “Sports Mode” and also M Mode with high (shutter speed, low aperture 5.6, iso 400, AI Servo mode, with evaluvative metering. I realised my follies after reading this article.
It would be of great help if you cud throw some more tips regarding capturing fast moving birds like Swallows. Thank you. I suggest you should write a book on photography 🙂 🙂
Thank you
Wat is depth of feild
In photography, depth of field (DOF) is the distance between the nearest and farthest objects in a scene that appear acceptably sharp in an image. Although a lens can precisely focus at only one distance at a time, the decrease in sharpness is gradual on each side of the focused distance.