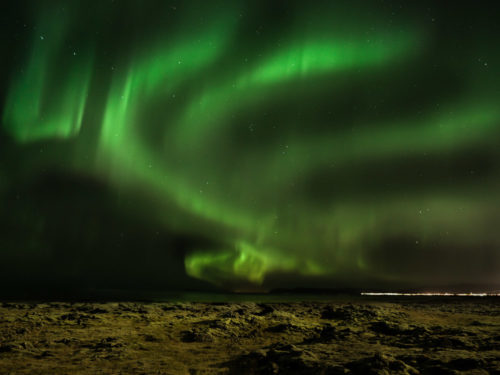
Recently I had taken few friends to Iceland for a Photo Tour. Seeing Northern Lights for the first times during my recent trip to Iceland was an ethereal experience. Details about the tour will be in my subsequent blog.
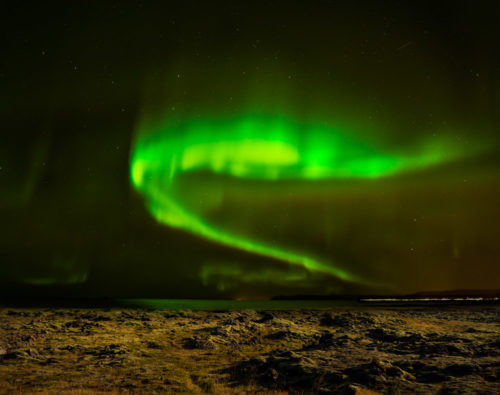
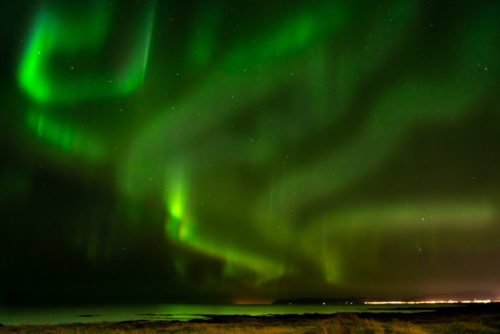
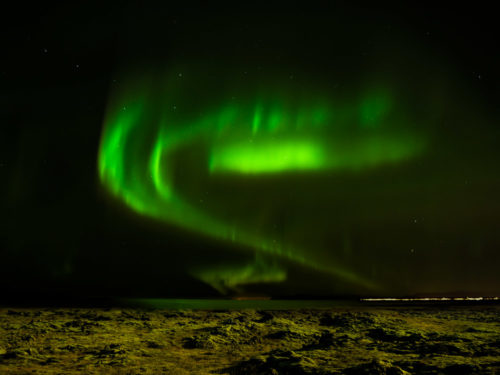
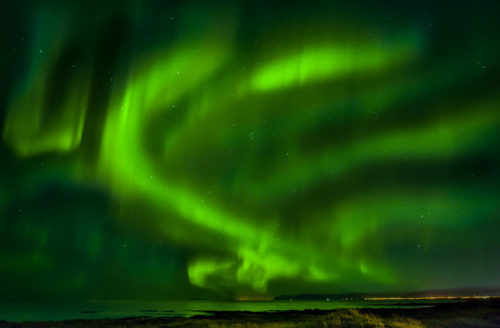
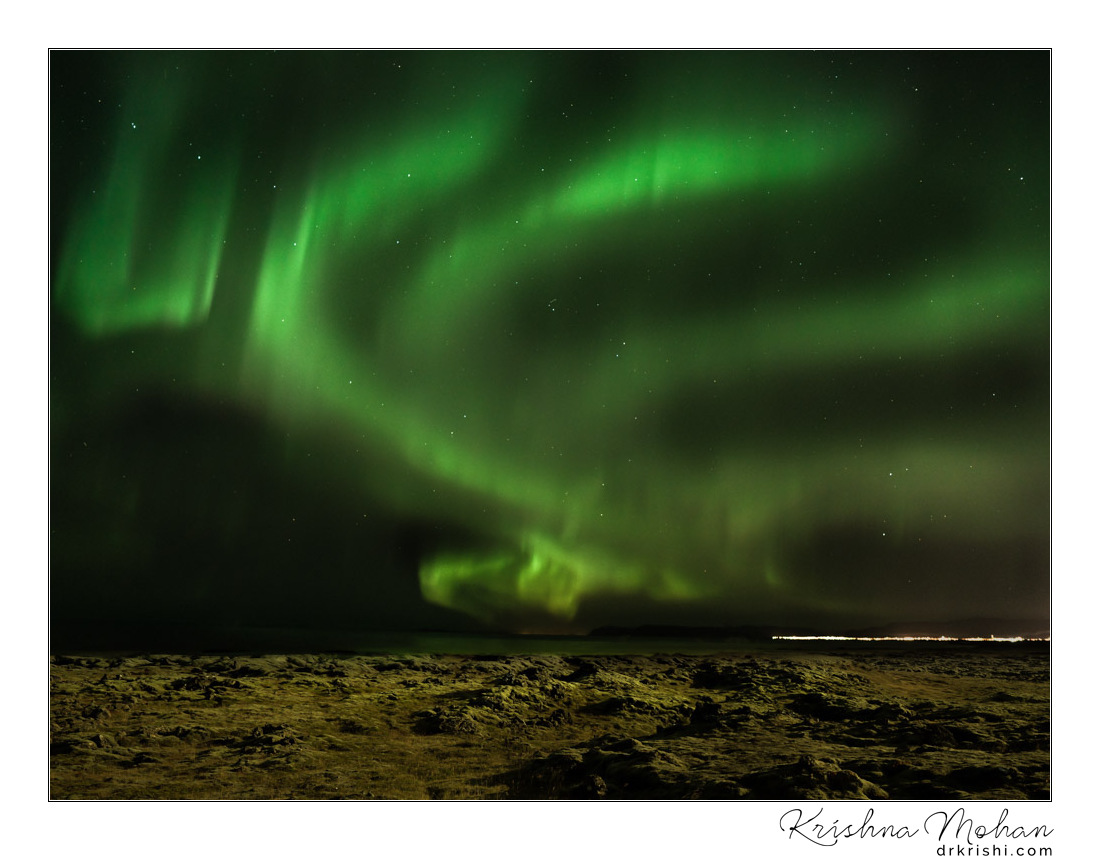
I was desperately checking the Northern Lights activity site for a month before our landing in Reykjavík. There was very little Northern Lights activity (which is measured by KP Index). Only on 29 September when we landed in Iceland and the previous day the KP index was showing 5 with a high chance of Northern Lights. Being New moon day we had great dark and cloud-free sky, thus giving a spectacular show for over two and a half hours. It is a spectacular phenomenon; the photographs here do not justify the experience we had.
The Valkyrior, the “Dance of the Spirits,” polar lights, Goddess of the dawn, the mythical firefoxes of Lapland, the Northern Lights, Aurora Borealis are the several names humans have called this strange phenomenon visible between 60 and 72 degrees north and south latitudes.
Named after the Roman goddess of dawn, Aurora, and the Greek name for the north wind, Boreas, in Northern latitudes, they are known as the Aurora Borealis (or the Northern Lights), in Southern latitudes (e.g., Antarctica, South America, New Zealand, and Australia), the Aurora Australis (or the Southern Lights).
If you are interested in learning more about exactly what the Aurora are, where they come from, and what produces the various colours that often accompany an Auroral display, Kindly go through this Wikipedia page on Aurora
Observing and photographing the Northern Lights is subject to local weather conditions, patience, geographic location, dark sky venue, minimal ambient light, being in the right place at the right time, and some luck.
Photographing the Northern Lights by its very nature requires heading out at night. Here are some things to watch out for and prepare since almost all location you see Northern Lights are freezing cold.
- Be aware of your surroundings, especially if you are visiting the unfamiliar territory, a foreign country.
- Take extreme caution when walking in deep snow, ice, and across frozen bodies of water. You may not be able to see or identify potential hazards.
- Conduct visual reconnaissance during the day, identify potential ground hazards, layout a destination path and test snow and ice conditions en route to your evening’s photographic destination.
- Let someone know your planned photographic destination(s) and anticipated return time, especially if you are headed out on your own.
- Don’t count on your mobile phone working if you are far from service towers or in a foreign country.
- At all times consider your intended shooting location and ensure that you comply with all local laws regarding access to properties (private and public), lakes, bridges, etc.
To be frank we missed most of these precautions which I have mentioned above. When we reached Reykjavík where we were planning to stay that night, it was already late evening. We were tired after 28 hours of flight as well as jetlag. We had not done any reconnaissance to locate a good spot. We were not sure how cold it will be and were not prepared for it.
To capture Northern Lights, we headed in the evening before dark to a location which we saw while returning from Keflavik airport to Reykjavík. This was a detour from the main highway. It did not have any ambient light pollution and was totally deserted off road location. It was an isolated place but devoid of any great looking foreground landscape elements, you see in most of these northern light’s photos. That drawback will be corrected in my next trip to Iceland coming in summer 2020.
Dressing for the location, season, and weather conditions are essential both for your safety and for the ability to remain outside for an extended period of time in potentially body-numbing temperatures.
- Wear many wicking, warm, and insulating layers and consider clothing appropriate for the local geographic and weather conditions.
- Protect your entire body from exposure to what will probably be the coldest temperatures you may ever experience.
- Carry a fully charged torch/flashlight (although wearing a headlamp frees up your hands).
- Outfit your torch or headlamp with a red light or filter. The red light allows you to easily see where you are walking yet, preserves your night vision so you can easily and quickly operate your camera.
- Pack chemical hand and foot warmers. Take more than you think you will need because you will need more than you think.
- Use extra hand warmers to keep your camera batteries warm. This helps to extend their useful life in extremely cold conditions.
- Invest in a really good pair of shoes for cold, dry climates.
- Bring a warm (non-alcoholic) drink and a snack, it may be a long night.
You really don’t need much technical equipment to photograph the Northern Lights but there are some essential kit items you simply cannot do without.
Any DSLR or mirrorless camera will be best, but in principle, any camera can be used, even your mobile phone. Handholding your mobile phone, attempting to capture a shimmering, undulating Northern Lights, will not produce the same quality image that you can get with a digital camera, supported by a sturdy tripod, using a remote shutter release. This, however, should not stop you from capturing that moment and preserving the memory.
Be sure to keep your camera dry and avoid contact with snow or moisture. When walking about, it is always a smart idea to place your camera in a large zip-lock plastic bag. Should you trip, slip or accidentally drop your camera (numb fingers will do that to you), your camera body will stay dry and protected from the elements and the lens free from moisture, grime, etc.
To take in as much of the sky as possible and a bit of interesting foreground, using a wide or super wide-angle lens (focal length between 10mm and 24mm, with an aperture of f/1.4-2.8) will give the best results overall. In reality, almost any lens will work. I used Sony A7R Mark III with Carl Zeiss Batis 25mm f/2 Lens at f/2.8 aperture.
Prior to your first shot, focus your camera at a distant point, back off slightly from the infinity setting and then turn off the autofocus feature on your lens. Given the dark sky, you don’t want your camera and lens trying to automatically focus on an ever-changing, moving Northern Lights. Locking in on manual focus, set slightly south of infinity, will give you well-focused images.
If you notice lint, dust or any other foreign material on your lens, NEVER blow on it. Your warm breath will instantly fog the lens. Depending on the ambient temperature outside, even small traces of moisture vapour in your breath may crystallize and freeze your lens, rendering it useless until it defrosts. Use only a lens brush pen or dry microfiber lens cleaning cloth.
To avoid blurring your picture due to camera movement, shaky hands, or unsteady footing on snow or ice, a sturdy tripod is essential. Plastic tripod legs will snap in extremely cold temperatures.
A remote shutter release, designed to be used with your camera, provides important benefits in obtaining that memorable photo of the Northern Lights. First, it will be invaluable in its contribution to creating sharper images by reducing camera shake, which occurs naturally when you depress the shutter release. Secondly, for longer exposures, which may be necessary depending on changing atmospheric conditions and your ISO setting, you can hold the shutter open without physically touching the camera’s shutter release button.
Photographing in cold temperatures drains batteries very quickly, photographing in cold temperatures drains batteries exponentially faster. Always pack extra camera batteries. Keep all extra batteries in an interior pocket of your jacket, close to your body. Trapped body heat, created by your insulated jacket and multiple layers of clothing will help keep the batteries reasonably warm, holding the charge longer. Get a Ziploc airtight bag which will help to reduce the fogging.
- Shoot in the RAW format – this will provide you with the maximum amount of digital information needed for post proceeding the image.
- Remove the protective clear, polarizing or UV filter on your lens as they will likely cause concentric rings to appear in your final image.
- Set your camera to M (manual) and turn off the camera’s flash settings.
- Dial the lens focus ring to infinity and back off very slightly.
- Turn OFF any autofocus capabilities associated with your lens. You don’t want the autofocus feature of your lens attempting to refocus.
- Open up the aperture as wide as possible, i.e. f/1.4 – f/2.8 or lower for many prime and pro lenses, or f/3.5 or f/4 for many consumer zooms.
- Set the shutter speed to anywhere between three and 12 seconds. Check your image using your camera’s live view function. Too long of exposure time will tend to blur both the Northern Lights and the stars as they move across the sky.
- Determine the proper ISO setting. Start off with an initial ISO setting of 800 and adjust as your personal preferences and the photographic conditions warrant.
- Bring and use a sturdy tripod. You want sharp Northern Lights images and to keep your camera as still as possible. If you don’t have a tripod, you can use a beanbag, flat rock, or another solid surface. Do not touch the camera until it is done exposing, and shield it from the wind if you can.
- When possible, include a contrasting foreground. The Northern Lights by its very nature looks best when photographed to include a foreground, which provides scale, context, and perspective. A suitable foreground can be a tree, a building, a fellow photographer, a car, etc.
The images you see here are between2 sec to 5-sec exposure at f/2.8-3.5 and ISO set at 1600. Longer shutter speed will produce blurry looking Northern Lights as they are moving relatively quite fast.
Being present during Northern Lights’ magical dance fills the observer with wonder, awe, and excitement and the experience often leaves one speechless. Capturing the Northern Lights in a photograph preserves that experience for a lifetime.
I hope that you may be fortunate enough to be at the right place, and at the right time, to observe and photograph Northern Lights’ magical dance. For most of us, getting to the dance is not easy. But once there, none of the logistics, long flights, cost, or cold, make a difference. You are witness to the most spectacular light show orchestrated by Nature.

ಫೇಸ್ ಬುಕ್ಕಿನ ಸಣ್ಣ ಟಿಪ್ಪಣಿ ಅಂದೇ ನೋಡಿದ್ದೆ. ಈಗ ವಿವರಗಳು ಹೆಚ್ಚಿದ್ದು, ಹೆಚ್ಚು ಕುಶಿಯಾಯ್ತು. ಜತೆಗೇ ನೆನಪಾಯ್ತು: ೧. ನನ್ನಪ್ಪ (ಜಿಟಿ ನಾರಾಯಣ ರಾವ್) ಆಕಾಶವಾಣಿಯ ನಕ್ಷತ್ರ ವೀಕ್ಷಣೆ ನೇರ ಪ್ರಸಾರ ನಡೆಸುತ್ತಿದ್ದ ಕಾಲದಲ್ಲಿ, ಆಗಿಂದಾಗ “ನಕ್ಷತ್ರಗಳೊಂದಿಗೆ ವಿಹರಿಸಿ, ನಿಂತ ನೆಲ (ಹೆಚ್ಚಿನ ಕೇಳುಗರು/ ವೀಕ್ಷಕರು ಅವರವರ ಮನೆಯ ತಾರಸಿಗಳ ಮೇಲೆ ರೇಡಿಯೋ ಹಿಡಿದುಕೊಂಡು ಅನುಸರಿಸುತ್ತಿದ್ದರು) ಮರೆಯಬೇಡಿ” ಎಂದು ಎಚ್ಚರಿಸುತ್ತಿದ್ದರು.
೨. ಗೆಳೆಯ ವೆಂಕಟ್ರಮಣ ಉಪಾಧ್ಯ ಕುದುರೆಮುಖ ಶಿಖರದಿಂದ ನಕ್ಷತ್ರ ವೀಕ್ಷಣೆಯ ಬಯಕೆಯಲ್ಲಿ ಅವರೇ ತಯಾರಿಸಿದ ಭಾರೀ ದೂರದರ್ಶಕ, ಅದನ್ನು ಸ್ಥಿರವಾಗಿ ಹಿಡಿಯಲು ಭಾರದ ಮೂರುಕಾಲಿನ ಸ್ಟ್ಯಾಂಡು, ಅನಿವಾರ್ಯವಾದ ಕೇಜಿ ತೂಕದ ಅಟ್ಲಾಸ್ ಆಫ್ ದ ಯೂನಿವರ್ಸ್ ಇತ್ಯಾದಿ ಹೊತ್ತೊಯ್ದಿದ್ದರು. ಎಲ್ಲವನ್ನೂ ಅವರವರೇ ಹೊರುವ ಕಾಲವಾದ್ದರಿಂದ ಸಹಜವಾಗಿ ಬಟ್ಟೆ, ಆಹಾರವಸ್ತುಗಳ ಹೊರೆಯನ್ನು ಕಡಿಮೆ ಮಾಡಿದ್ದರು. ಕೊನೆಗೆ ರಾತ್ರಿ ಶಿಖರದಲ್ಲಿ ಚಳಿಯಲ್ಲಿ ಉಂಟಾದ ನಡುಕದಲ್ಲಿ ದೂರದರ್ಶಕವನ್ನು ಲಕ್ಷ್ಯದ ಮೇಲೆ ಕೇಂದ್ರಿಕರಿಸುವುದರಲ್ಲೇ ಸೋತು, ಶಿಬಿರಾಗ್ನಿಯ ಬಳಿಗೆ ಓಡಿದರಂತೆ. ಅಲ್ಲೂ ತಿನ್ನಲು ಆಹಾರ ಸರಿಯಿಲ್ಲದೆ ಒದ್ದಾಡಿದರಂತೆ!
೩. ಕಯಾಕಿಂಗಿನಲ್ಲಿ ನಾವೆಷ್ಟು ಬಂದೋಬಸ್ತು ಮಾಡಿಕೊಂಡರೂ ಐದು ವರ್ಷಗಳಲ್ಲಿ ನಾನು ಮೂರು ಕ್ಯಾಮರಾ/ಚರವಾಣಿಗೆ ನೀರು ಕುಡಿಸಿ ಹಾಳು ಮಾಡಿಕೊಂಡಿದ್ದೇನೆ.
Thank you so much for the wonderful description. Very informative indeed!!