
If you’re a professional photographer or if you just like the personal touch, why not personalize your Lightroom interface? Here are two separate hacks which make Lightroom look as though it was specially customized exclusively for you. Let us see how to customize the Lightroom splash screen as well as its Brand identity plate. This hack is a part of the Advanced Lightroom Workshop I am conducting on 19th April 2015 which I want to share with all of you. To know more about such workshops check Facebook page https://www.facebook.com/Creativefocus.in
How to Customize your Lightroom Splash Screen.
This is a great idea for anyone who shows photos to clients in Lightroom. It’s also a great tip for anyone who wants to impress their photography friends. 🙂 Did you know you can change the standard Lightroom 5 (not in older versions) splash screen to make it completely your own? And it’s easier than you think! Remember showing splash screen during start up can be enabled or disabled in General Preferences of Lightroom. So if you have disabled it, enable it before you try this hack.
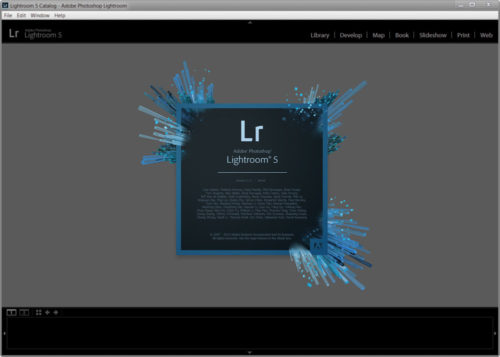
For this hack create a JPEG or a PNG image no larger than 900 x 600 pixels. Place this image (name can be anything you wish) in the “Splash Screen” folder. If you haven’t done this hack previously the folder does not exist. So create a folder called “Splash Screen” at these locations.
For Windows – C:\Users\[username]\AppData\Roaming\Adobe\Lightroom
For Mac – Users/[username]/Library/Application Support/Adobe/Lightroom
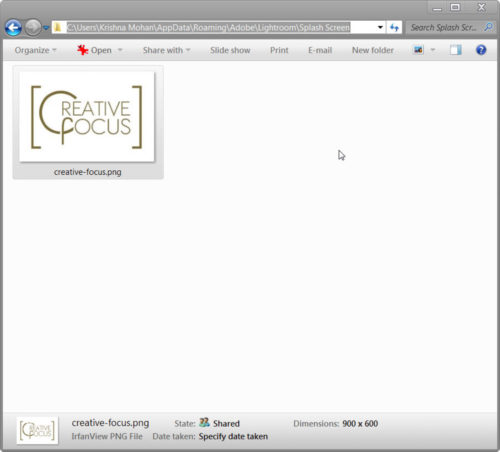
Restart the Lightroom and enjoy your new custom splash screen like the one below!

How to Customize your Lightroom Branding Identity Plate.
The Lightroom branding which appears in the top left corner of the screen is also customizable using the Lightroom Identity Plate feature. These Identity Plates are usable throughout Lightroom to brand your prints, slideshows and some web sites. You may need to slightly modify them to make your Lightroom truly look like customized exclusively for you.
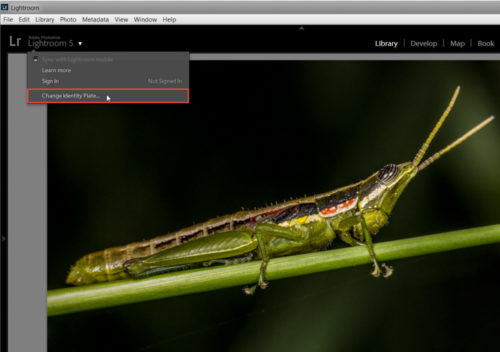
By selecting Edit > Identity Plate Setup (on the Mac choose Lightroom > Identity Plate Setup) or right clicking on the identity plate itself and choosing “change identity plate” you can customise this identity plate.
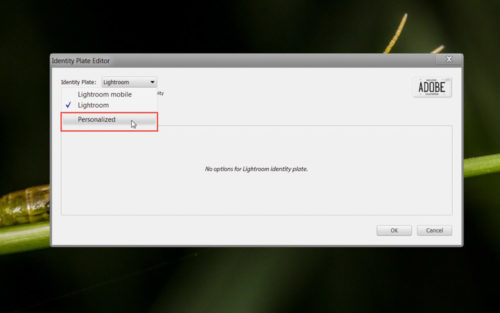
To create a simple text Identity Plate, choose Use a Stylized Text Identity Plate and type the text into the text area. You can select and format the text in the font, font size and color of your choice. Click the Enable Identity Plate check box and the changes you make will appear in place so you can check how they look. You may need to size the text to fit the space as Lightroom won’t scale it to fit automatically.
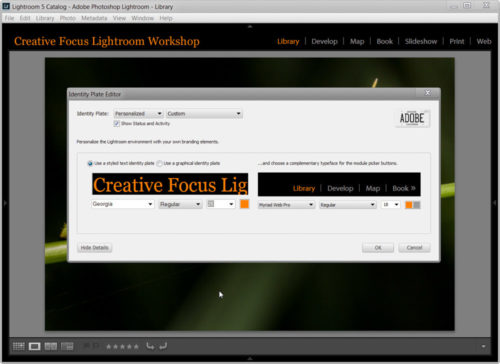
To save this Identity Plate, choose Save As from the drop down list and type a name for the Identity Plate. You can then select and use it in one of the modules later. You can also add it to a print layout.
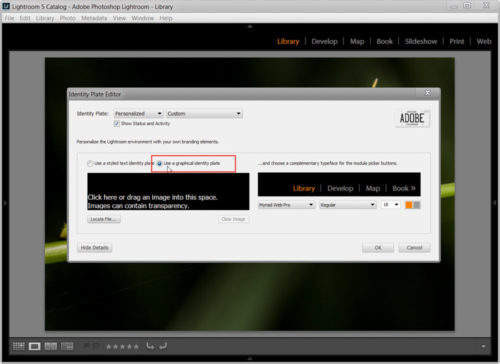
If you prefer to use graphics in your design such as your signature or a graphical design element you can create a graphical Identity Plate in another application such as Photoshop. The file you use should be no more than 50 pixels in height so it snugly fits in the space available as there is no option to scale it.
This small resolution Graphical Identity Plate will be useless for printing at a high resolution. For printing you may need to create high resolution Graphic identity plate.
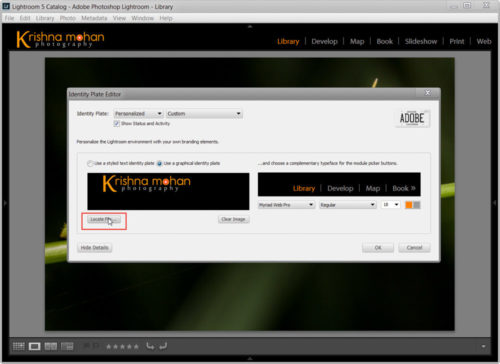
Save the file as a PNG or PSD or another format that maintains transparency (not jpg). If you save as a .jpg image the transparent background will be white. It is better to make sure your design merges well with a black background which the Lightroom uses as the top bar. If you choose any other colored background, you will probably have small unsightly artifacts in your design.
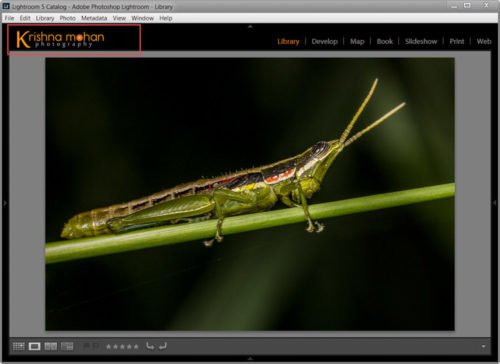
Back in Lightroom, open the Identity Plate Editor and choose Use a graphical Identity Plate, click Locate File and browse to find the file on disk. Save this Identity Plate so you can always reuse it if you change the Identity Plate in future.

