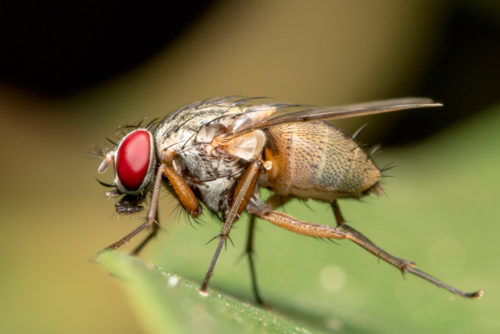
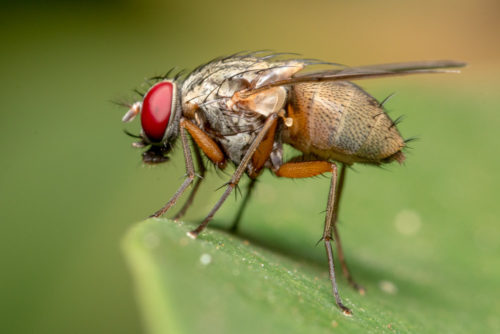
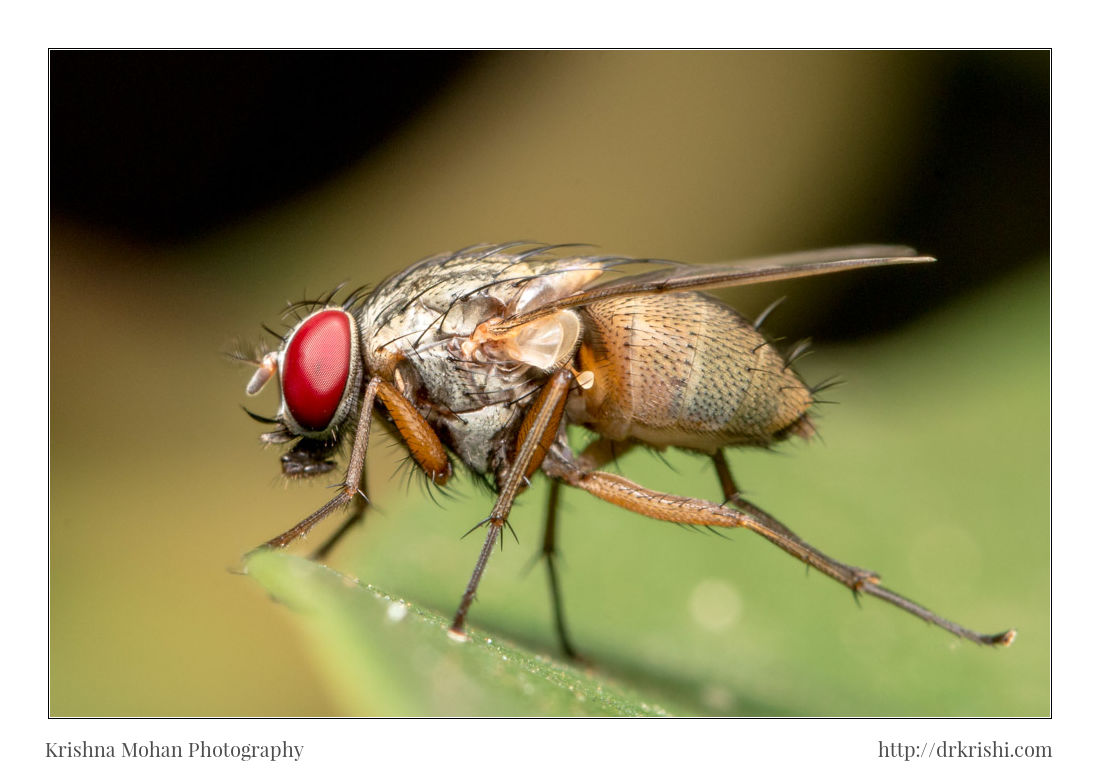
The fascination for macro photography is similar to the obsession astronomers have with the sky; there is a vast unknown yet to be discovered. You don’t necessarily need the most expensive equipment, but you do to go looking for your subjects. Look around you and if you are not seeing anything worth having a closer look at, you might not be looking hard enough. I found this flesh fly in the family Sarcophagidae used in this tutorial just the same way.They differ from most flies in that they are ovoviviparous, opportunistically depositing hatched or hatching maggots instead of eggs on carrion, dung, decaying material, or open wounds of mammals, hence their common name. It was captured handheld on Canon EOS 70D with Canon EF 100mm f/2.8L Macro IS USM lit with Godox Ving V860c E-TTL Li-ion Camera Flash with LumiQuest SoftBox III.
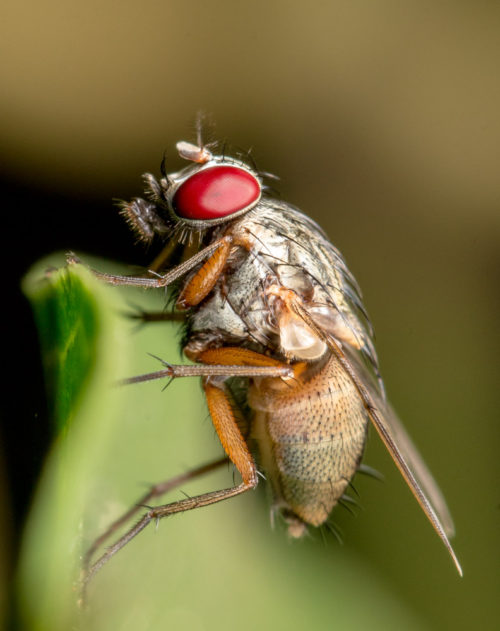
Macro photography might prove to be a formidable challenge for many shooters, as the levels of precision, persistence, and patience needed to produce a satisfactory image are arguably of greater importance than some other genres of photography. If you have found yourself frustrated by your attempts at macro photography or are experiencing some trepidation about diving into macro photography, don’t start tearing your hair out just yet. You will be glad to know that successful macro photography rests primarily on four essential factors namely Sharpness, Focus, Depth of Field and Lighting.
Sharpness
Macro photography most of the time, is benefited by tack sharpness. How do you achieve that ultimate sharpness? Use a sharp lens – Dedicated macro lenses are designed to be especially sharp. but you don’t necessarily have to shell out a lot of money on a new lens just to get involved in macro photography. You can go the smart, cost-effective route reverse mounting a lens onto your camera; if all you’ve got is a 50mm f/1.8 lens, then that’s all you need — these lenses are inexpensive and sharp and will serve more than admirably to ease you into the alluring world of macro photography. I have covered these in my earlier blog which macro Lens.
Bellows and Extension Tubes work in the same way: while holding the lens further from the surface of the camera’s sensor, it allows to increase the scale of mapping. It is a little unwieldy solution, but cheap, and allows us to use other, non-macro lenses with fixed focal length that provide a good picture quality. Bellows and Extension Tubes, however, cause loss of light.
Macro Filters are the cheapest option for macro photography, but allows achieving satisfactory results. It is the only solution that can be used on most compact cameras, where lenses are not removable. They are just magnifying glasses of different magnification magnitude, fastened or screwed to the front of the camera lens. For those wanting to receive a picture of the highest optical quality, such magnifying lenses are not the best solution.
Many people, including myself, hate using tripod, but if tack sharp macro images are what you’re after, then using a tripod is perhaps the most effective means to that end. Having said that, tripod also creates lot of hassles if you are shooting macro in the field with live subjects. I generally use tripods only when I shoot macro indoor or in studio setup, while hand holding almost 90% of the time out doors.
Focus
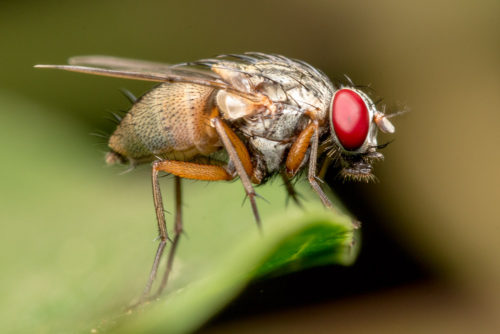
Find your lens’ minimum focus distance and try not to override it. Minimum focus distance (MFD) is the closest distance from a subject from which focus can be achieved. If you are using autofocus, the camera won’t let you violate the MFD. For macro we tend to use manual focus probably 100% of the time, it is easy to cross with MFD and end up with out of focus shots. Be sure to work within the parameters of your particular lens.
Here is how I focus for macro. I put lens in manual focus and turn off Image stabilization for most of my macro needs. I rotate the focus ring and set desired magnification, either close or far. Then I move the camera and lens towards the subject or away from the subject (making sure that I don’t cross the MFD) till I get sharp focus as well as great alignment on subject I want to show. So I focus by varying the camera to subject distance rather than using focus ring. As I reach that focus I want, I click the picture.
Align the elements of your subject that you want in focus so that they are parallel with the camera’s image sensor. This is one of the most important fact many people miss. If you notice the fleshfly here, the eyes as well as abdominal region is in perfect focus due to the alignment I did to get both well within focus.
Depth of Field
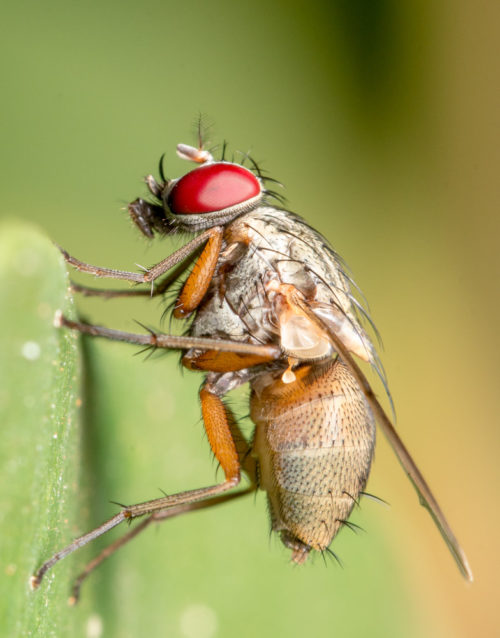
Macro photography always exhibits a shallow depth of field. It’s physics, you can’t help it. Set a smaller aperture of f/14; depending on your lens you may be able to go as high as f/22, but beware that nasty image-degrading diffraction. Experiment with your lens and body to determine at what f-stop diffraction sets in and you’ll know how small of an aperture you can safely set. Smaller sensor camera give greater DOF as against full frame cameras.
Try focus stacking. This technique can increase depth of field by combining (stacking) multiple exposures taken with different focal points. You’ll have to spend some time with software, but you may find the results are worth the effort. I have covered focus stacking in my blog.
All parts of the images don’t need to be sharp. In fact, having blurred elements highlights the sharper region thus making the subject stand out. Embrace shallow depth of field. Use it to your advantage — it can give an image great depth and add another dimension to your image. I have covered DOF in macro in my earlier blog
Lighting
Macro photography demands good lighting; after all, you’re typically working with small apertures, fast moving subject and great magnification, which makes, using flash essential. Fast burst rate of the flash will also aid in freezing motion. Even though natural lighting can be used in macro photography, flash is a useful accessory. Bare flash are too harsh and I advise you to try some sort of diffusion. There are plenty of DIY soft box rig ideas available on the internet. Try and see which works best for you.
If you plan to do macro work on a regular basis you might want to invest in a ring flash, which attaches to the front end of a lens and proves to be far more effective than a standard flash unit at providing even lighting. Good lighting as well as lighting angle can take your macro to another level.
By seeking and blundering we learn – Johann Wolfgang von Goethe.
Lots of practice and perseverance are called for; just know you will take several hundred bad shots before you get a good one. Learning from mistakes until you hit success is essential quality of a macro photographer. Don’t give up early and keep making mistakes. These aren’t the only factors that play a role in successful macro photography, but Sharpness, depth of field, focus, and lighting are four essential elements that you need to address if you want to see significant improvements in your macro images. You can check more macro photography tips in my earlier blog.

Best one sir .. 🙂
Awsome!! ?
Nice, concise blog which gives all fundamentals of Macro Photography.
Thank you sirs 🙂