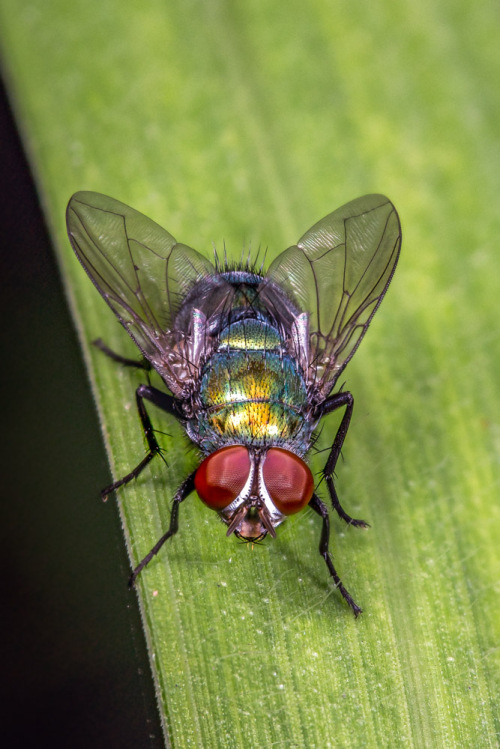
Focus stacking is a technique which helps to extend an apparent depth of field in a picture. It works especially well for macro and landscape shots. It will be more useful when the smallest aperture is often insufficient to render everything in focus. When we require more depth of field (or more area in focus), we typically increase the aperture (f stop) setting or move away from the subject. Choosing a smaller aperture increases the necessary exposure time, and in extreme cases it can also reduce the sharpness due to diffraction. Focus stacking can eliminate both these problems and get you an end to end sharp image despite being very close to the subject as in macro photography. Basic idea of focus stacking is to combine narrow depth of field of many images to one large depth of field in the final picture.
There are quite a few focus stacking software available, some free like CombineZP, some expensive like Adobe Photoshop, and some kind-of-expensive like Helicon Focus. I have played around with a few them and done extensive work with CombineZP and Adobe Photoshop. You can check my earlier tutorials regarding these two software for focus stacking. My current favourite is Zerene Stacker.
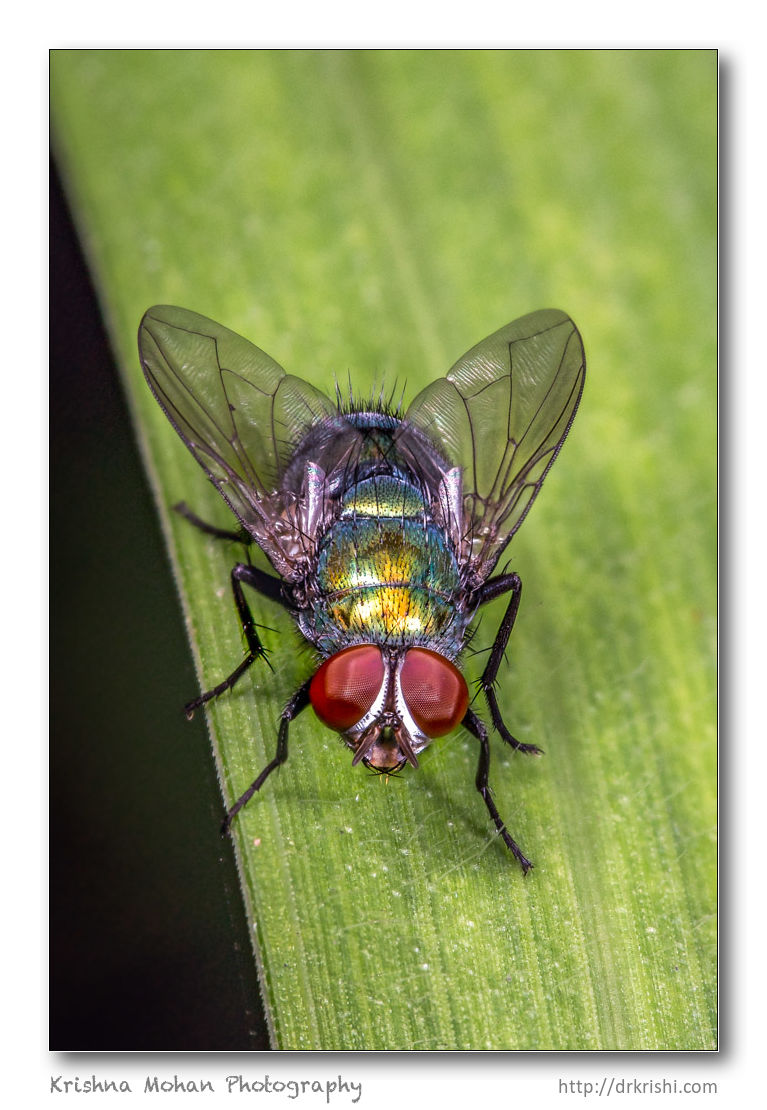
Zerene Stacker is extremely fast as compared to Photoshop. The very intricate stack was seemingly perfectly done. Every hair and bristle was preserved and there were no halos, no real artifacts.
Once you open Zerene Stacker you begin by adding files (images) to the current project. You can use TIFF or JPEG files. I used the Zerene Stacker’s lightroom plugin to export the images from Adobe Lightroom which will automate the process and smoothens the total workflow.
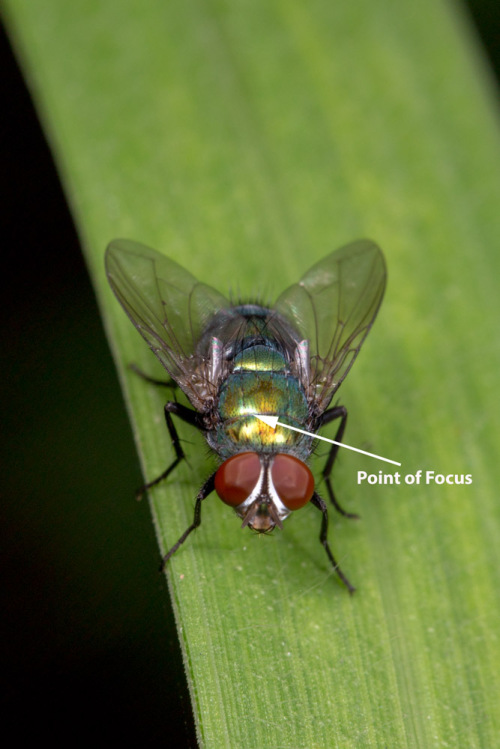
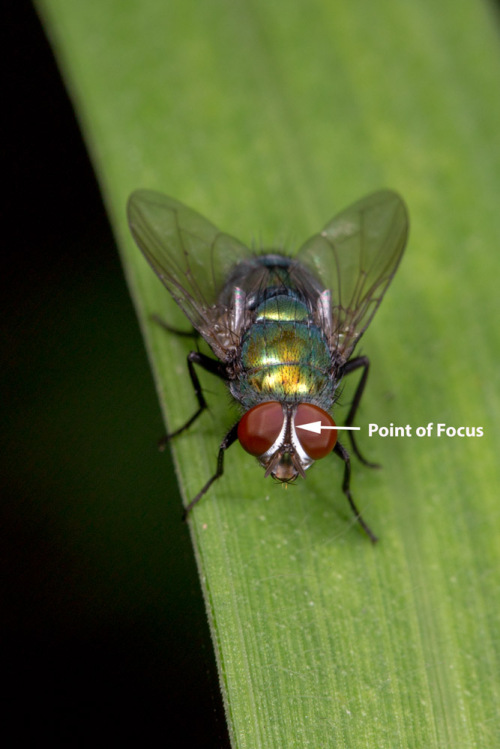
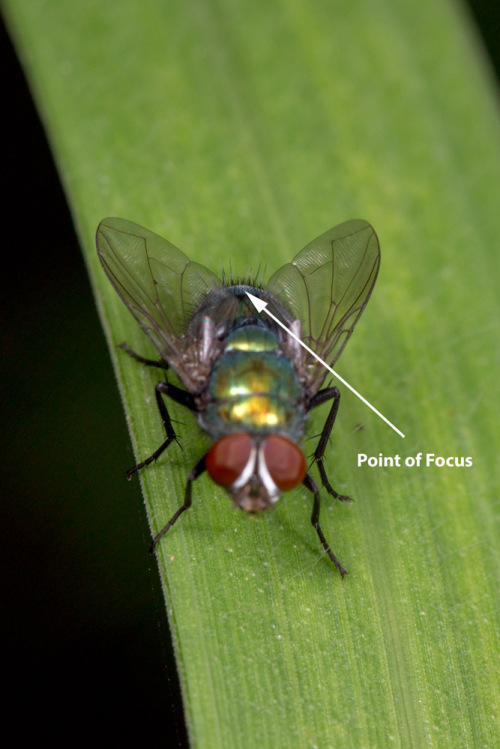
Here I have used 4 image files of this common green bottle fly (Lucilia species) for this tutorial. I photographed this fly at 1/125th sec, f/11, ISO 400 using Canon EOS 5D Mark III fitted with Canon EF 100mm f/2.8L Macro IS USM. The lighting was provided by Canon MT-24EX macro twin light flash. The depth of field was insufficient to cover the whole fly. So I shot 4 images each focusing a small area near the head, thorax, abdomen and wing tips, successively. I shot them handheld using manual focus. I moved the camera from one focus plane to another as I was viewing it through view finder and clicking the picture.
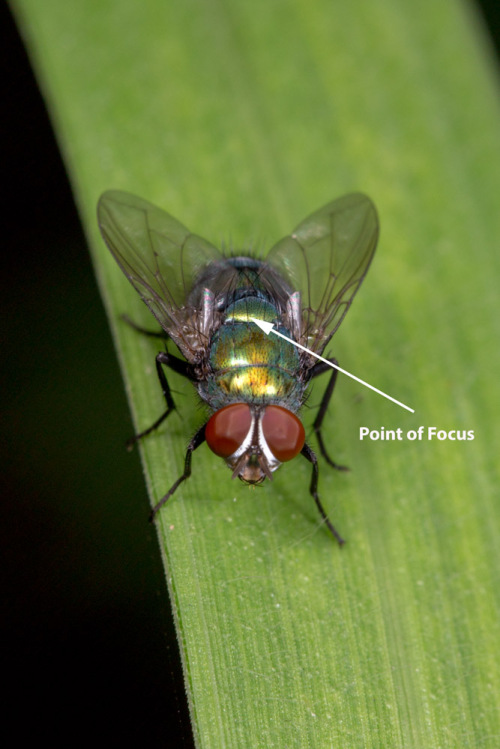
Image alignment is a must, especially if you have shot handheld. The ZS does both align & stacking for you. Once the images are imported into Zerene Stacker, select Stack from the task bar. Here, you will discover that there are two image stacking options from which to choose from, each based on creating an output image using a different processing algorithm. These are PMax and DMap. Each method capable of producing different results, and therefore, experimentation is the best way to determine which method will produce the best output image for you. Read a detailed description of both stacking methods here.
Once the stacking step is completed, it is time to use the program’s Retouching Tool. With just a little time and concentration, this is where you will eliminate any artifacts. For this step you will need to magnify both images. I use a setting of 100%, which allows me to easily see details, while quickly scrolling through all parts of the image. Each file on the left of the screen represents each individually focused shot. Simply match the best focused shot with the area of the image on the right you are using the Retouching Tool. The tool itself is very easy to use. Just like the adjustment brush found in the Lightroom, simply brush over any area that has been effected by movement or wind. Using your mouse, you can easily control the size of the brush area, on the fly. Once you have finished retouching the image, go to Edit>Commit Retouching. Your image will then appear in the column at the left of the screen, under Output Images “Retouched.” Not all projects will require retouching.
Save Output Images will open the output options window. From here you will choose the output file size and type that matches the workflow you typically use. My preferred settings are to save each new image as a TIFF file.Next, chose a location on your computer where you wish to save the new file. This will be the location where you will open your stacked file for further post-processing such as colour correction and sharpening. I generally run both PMax and DMap, then retouch to merge the best bits of everything that’s available in Photoshop opening them as layers and adding mask.
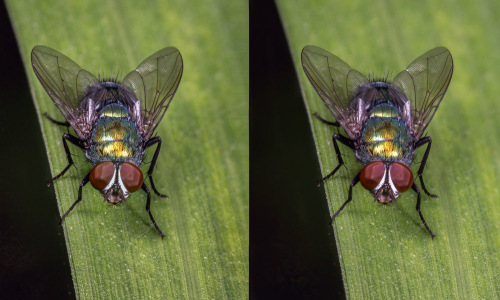
Zerene Stacker also has few bonus tricks up its sleeve. Using the same stacks it can create Cross Eye Stereo. Just check the picture above showing two flies side by side. First enlarge the picture by clicking on it. While keeping the stereo pair of images in the center of your vision, slowly cross your eyes. The stereo pair will go out of focus and you will seem to see four images. Continue crossing your eyes more, until the center two of the four images overlap and you see three blurry images. The central image should now appear in 3D! Stereo gets more pronounced in larger stacks, here using 4 photos effect is not very pronounced.
Zerene Stacker can be downloaded here, which includes a very nice 30 day free trial if you just want to try it out. Zerene is an outstanding tool for macro and landscape photography and I highly recommend this for focus stacking.

Thank you Doc for this fantastic simple write-up. I have not tried macro as yet, need to try soon. I am just getting used to my 100mm macro now. At 1/125 thats pretty steady hand you have Doc 🙂 , did you use IS here…Do you recommend it On or Off….??
And also thanks for providing link on “How to use ZS”
Finally, your output image with just 4 image stacks is really too good Doc….!!