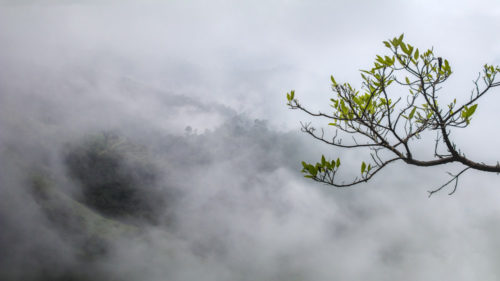
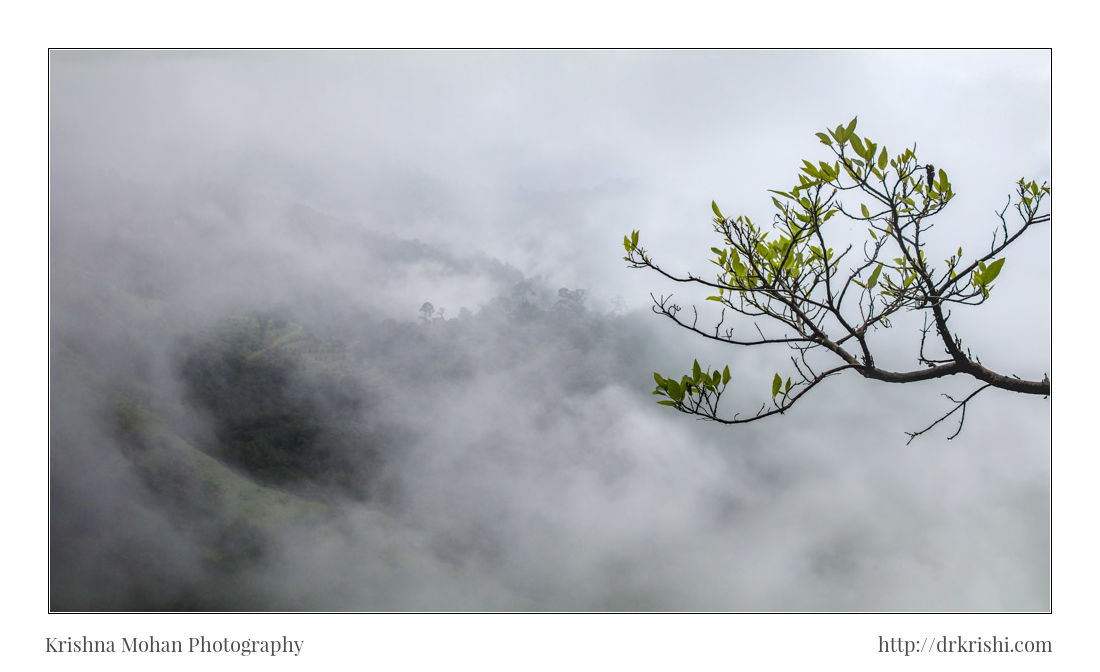
Here is a simple tutorial to focus stack two photos so as to increase the depth of field in that photo. The photo you see above is the result of such a Focus stacking. Since there are several detailed tutorials available online, I will keep this one as simple as possible covering only the relevant steps. I took these photos while returning from the waterfall photography workshop at Charmadi ghats. It was late evening and the fog was covering the ghats.
Stopping at the road side I saw this glowing tree and deep dense fog in the valley behind. I was hand holding my Canon EOS 80D with Canon EF 70-200mm f/2.8L IS II USM and captured these photos. I used shutter speed of 1/500 to avoid shake as I was tired after full day workshop. I used f/2.8 as the lens is sharp even at widest aperture of f/2.8. As I wanted to avoid raising the ISO it was at 100 ISO.
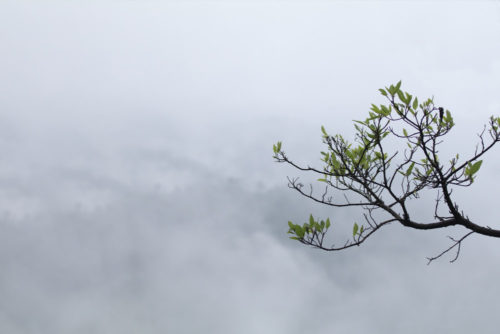
The one above is focused on the branch of tree projecting from the right edge of the frame. Tree was around 6 feet away from me. As you can see the valley covered with fog in this photo is out of focus, while the tree is focused sharply.
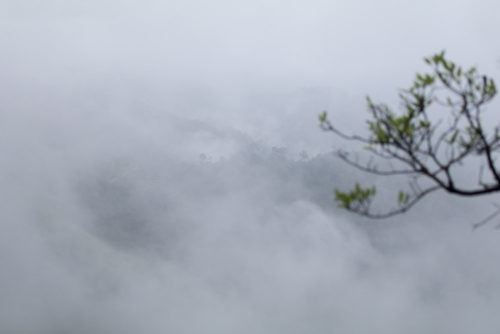
This one is focused on to the foggy valley below. Here the tree branch is out of focus. Could I have got both in focus? Answer is no. Even if I was able to setup a tripod, gone for smaller aperture of say f/22 and longer shutter speed, the foreground tree does not come into the hyperfocal distance. Cropped sensor like Canon 80D at 70mm focal length at f/22 aperture, even if focused at hyperfocal distance of 36.7 feet, starts somewhere around 18 feet and the tree in the photo is much closer than that. You can check my blog on hyperfocal distance for more details on the topic of hyperfocal distance.
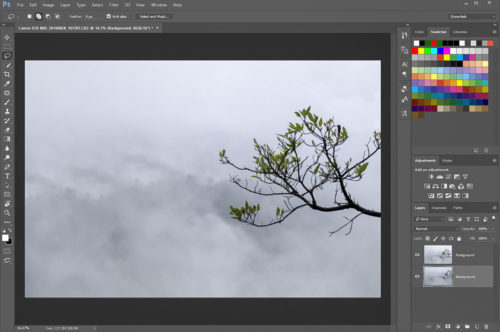
We can get both foreground and background in focus, without changing the focal length, by using focus stacking. Once imported into Adobe Lightroom these two photos are exported to Photoshop as two layers after minor adjustment. I have named two photos which are arranged as two layers in Photoshop as Foreground and Background.
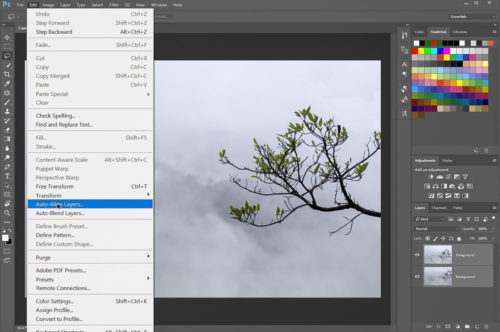
First step is to align both layers. It is easier to edit them, if the two photos are aligned properly. As they are shot handheld there bound to be framing difference, between the two images. Select both layers and choose from the Photoshop menu -> Edit -> Auto-Align Layers.
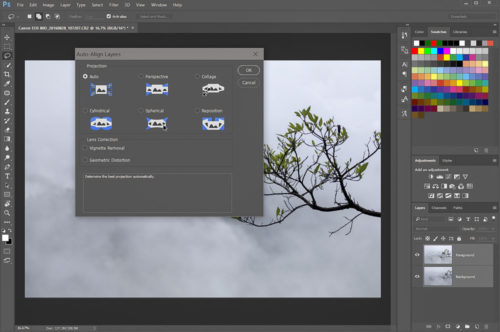
Choosing Auto in the next dialog and allow it to align both the layers.
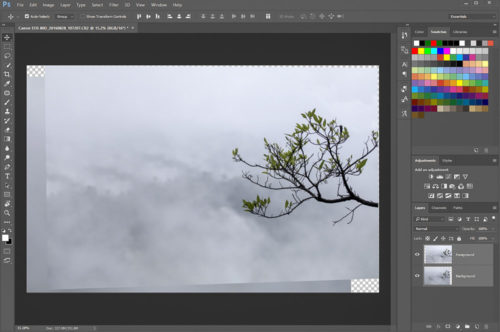
You can see that, there was alignment issues and the frame was not similar.
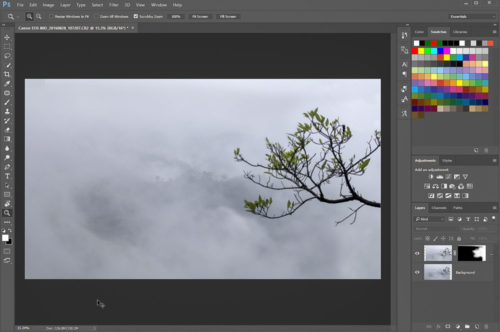
Next step is to mask one of the layers. Apply black mask to Foreground layer (hold alt key when clicking masking icon). Black hides the whole of the Foreground layer and makes the background layer visible. From the foreground layer I want only the branch of tree visible. Taking a large & soft brush and making sure to choose the mask as your target, paint choosing white as your foreground color. Make sure the brush opacity is set to 30% or below and softly over the area of the branch which exists on the Foreground layer. That will convert that part of the mask whiter thus revealing the sharper focused branch to appear. Keep brushing as it may take few strokes to get good amount of white color build up. Softer and low opacity brush helps to avoid rough transitions at the edge.
Once you are satisfied with the results, it is time to crop and fill any of the gaps using content aware fill or a clone stamp tool. I cropped it to 16:9 ratio crop. Saving the file which automatically gets imported to Adobe Lightroom. You can carry out further development in Adobe Lightroom and export as a new photo which has deep depth of field.

Landscape captures usually involve several more steps to enhance the image. Not all scenes require focus stacking, but it is great to have the ability to do so when needed. Most focus stacks are not difficult; some are just two frames and can be blended in minutes. With patience and practice, you will be shooting focus stacks in no time!

Nice and simple…
Very simple but useful method to Focus Stack Images. I tried to Automate the same images. That method does not work well.