[pano file=”dji/index.html”] 360 aerial Panorama of Moodbidri
My good friend Nerenki Parshwanath recently acquired a DJI Mavic Pro Drone. What you are seeing above is a 360 aerial Panorama of Moodbidri stitched using software which I have discussed below. You are seeing most of the 18 Jain basadis including the famous Thousand Pillar Temple of my hometown Moodbidri in this aerial panorama. Since I found the steps of creating this panorama very interesting and will be useful for many who want to try this, I have written this blog. If you found this blog useful, please leave a comment below or suggest me a better workflow.
My friend was using his drone and free app available on the web called hangar 360 to stitch similar panorama. When I asked his permission to use his images he was very glad to give it to me. Hangar 360 is a free app for drone users that allows you to easily create and share interactive 360-degree photos for use on mobile or desktop. Hangar 360 autonomously flies your DJI drone, captures the required aerial images, allows for one-touch upload to the Hangar cloud for processing, and delivers a fully stitched 360 image link back to you easy viewing and sharing, including direct image posting to Facebook.
Being a free app it does not provide you with the final panoramic image, but only provides you a link to share. I started with the 23 images which Hangar took. In fact, Hangar misses 3 images of the Zenith and uses it to put its own logo in that place instead. If manually captured using an app such as Litchi app it would provide 26 images. Here I am working with 23 images and create a panorama.
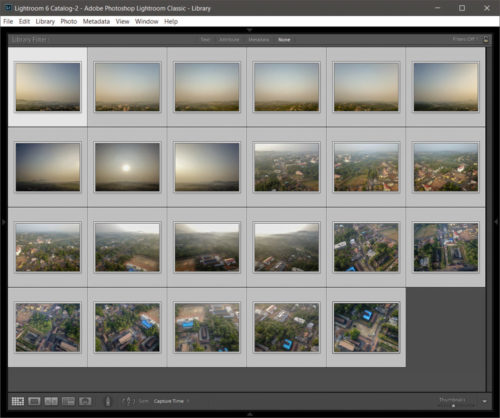
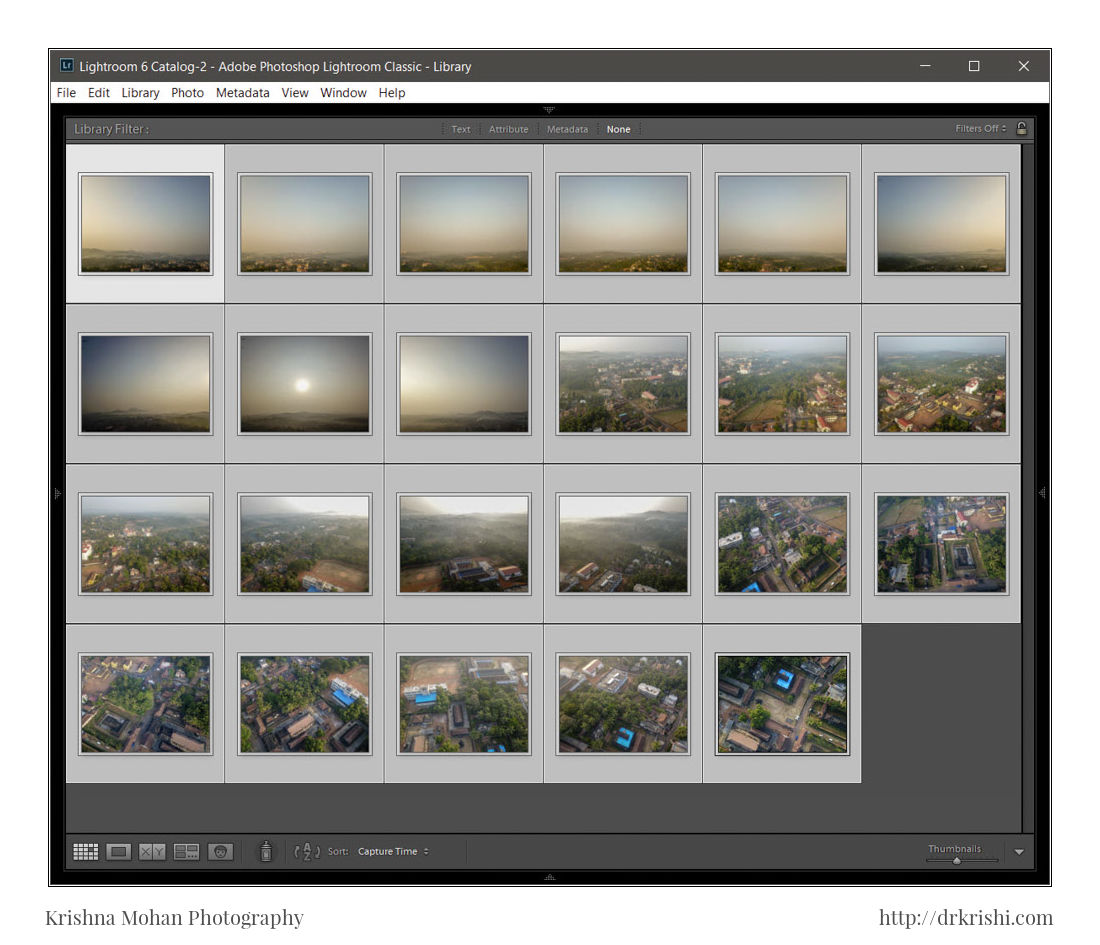
The first task for me was to create a uniform looking files. Each photo was taken in auto setting, so as the drone and the camera rotated 360 degrees the exposures varied from one another. After importing all the 23 shots to Lightroom and colour corrected them. Make sure you did not crop any of the shots. Export all the files which were colour corrected to a single folder.
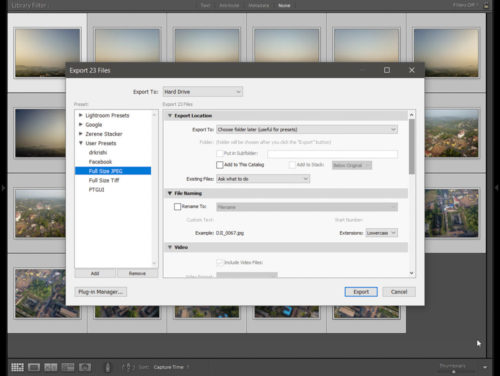
Next task was to find panorama stitching software. Photoshop did not do well as it found 3 files missing, neither was the Lightroom’s panorama tool. I used PTGui which is an excellent Panorama stitcher.
Here is an easier trick. For this, you need to use Kolor Autopano Pro or Autopano Giga which have much better tools to find the matching alignment points between the 23 photos. They do better than PTGUI.
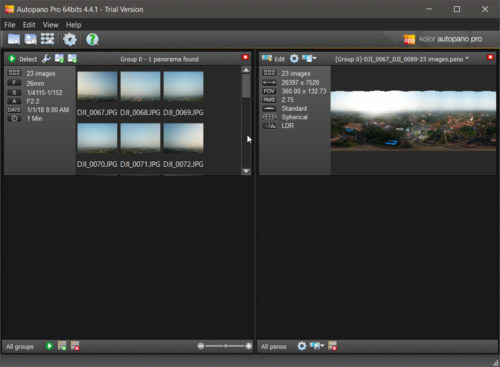
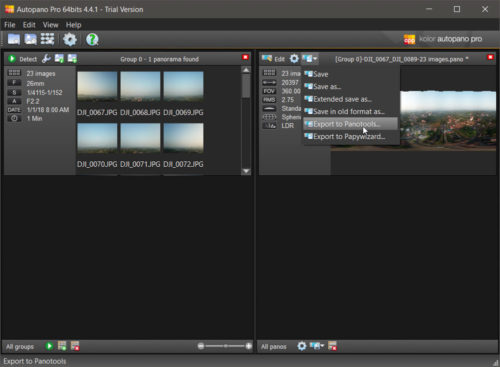
The trial version of this software is available and they allow you to match the various points and allow the resulting database to be exported without any issue. One option it has is to export as panotool database *.pts format. I allowed the Kolor Autopano Pro software to match and then export the match as pts file. Since that was only task needed from Autopano, you don’t need a full version of Autopano for this task 😉
When you make PTGui open this exported pts file, it will grab all the alignment points Autopano found and uses it on the 23 images. Sometimes, like in my case, PTGui did not find the photos despite finding the points of alignment.
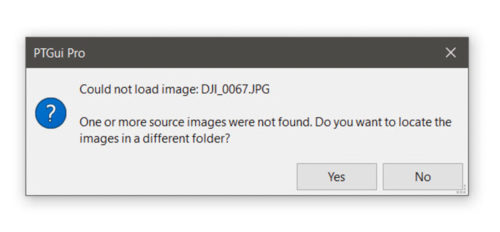
I had to manually show the folder where the photos resided for PTGui to proceed.
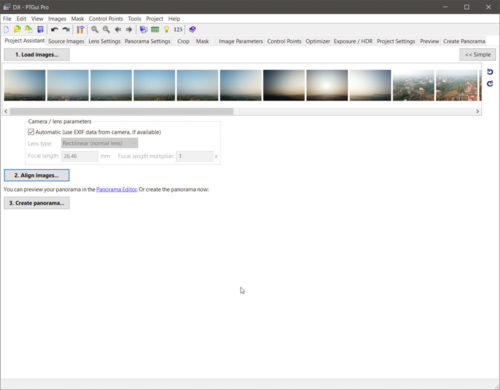
Once it had found the alignment created by Kolor Autopano Pro, rest went very smoothly. The stitched panorama was nearly perfect.
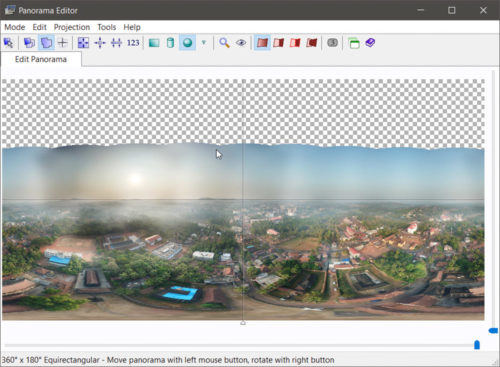
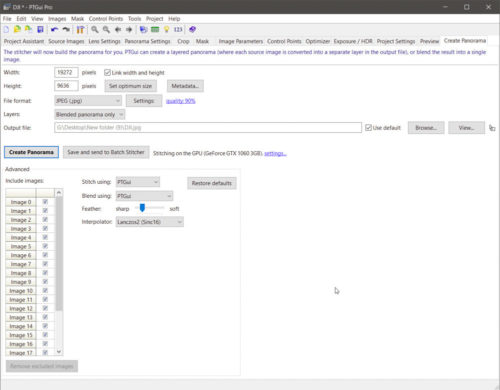
Next step was to export the blended panorama as the equirectangular image. It is a squished 360 panorama.
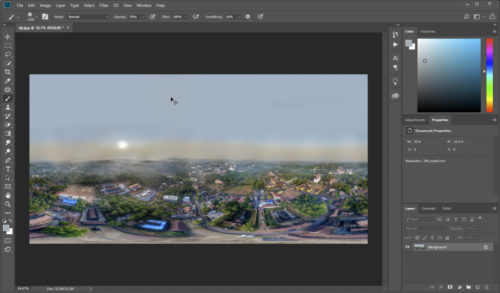
Since the 3 zenith images of the sky were missing from the capture, I had to open the image into photoshop and paint the sky using a blue coloured brush and save it back.
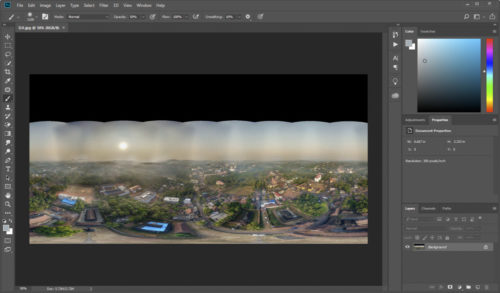
You can use Content aware fill of the photoshop too for this task. I used the easy method of painting using blue colour.
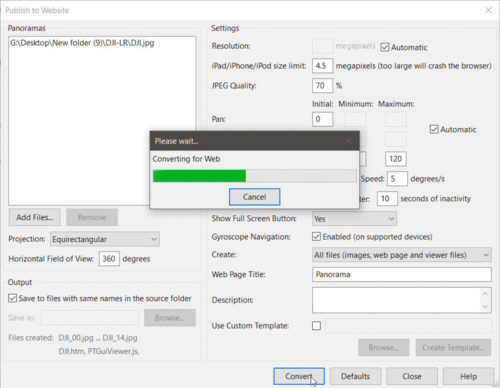
The last step to create panorama was to take the blended equirectangular image back into PTGui and export it as 360-degree panorama which is fit to be exported to the web. PTGui under Tools-> publish to website accomplishes it.
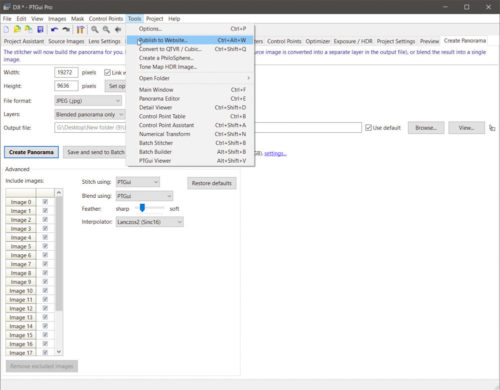
This will create a viewer and allows you to upload to any website and can be viewed as a panorama. PTGui also allows you to export the blended panorama equirectangular image to a Quicktime Movie which can be viewed only in an Apple QuickTime as a panorama.
If you want to export the same blended panorama equirectangular image (not final panorama) to facebook, follow these steps. This tutorial helps to add missing equirectangular photosphere metadata in Photoshop.

Wonderful Creativity Sir, But read all, sorry to mention, how much time it took to stich in LR, that too in Super fast Computer you are Having.
The stitching is not very graphic intensive. It just took 10 minutes from starting to end of the creation.
Spectacular Sir. Awesome explaination with the snapshots.
Thank you for the sharing the information.
Thanks Prabhu. Thanks for visiting my site 🙂