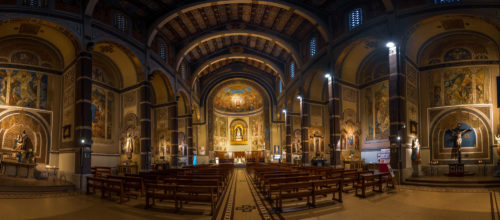
Lightroom is one of my preferred tools to stitch panoramic images. In the past one would have to either use Adobe Photoshop or third-party software such as PTGui to stitch panoramas, with the latest versions of Lightroom, one can easily stitch a single row or multi-row panoramas directly from Lightroom. In this article, I will show how one can successfully stitch panoramas in Lightroom.
You’ll need at least two different frames to stitch together to create your panorama, but three or more will give you more to work with and allow for a much richer image. When capturing these frames make sure to overlap each frame by about 25-30% or so to allow enough information for the algorithms to match each image with its neighbour.
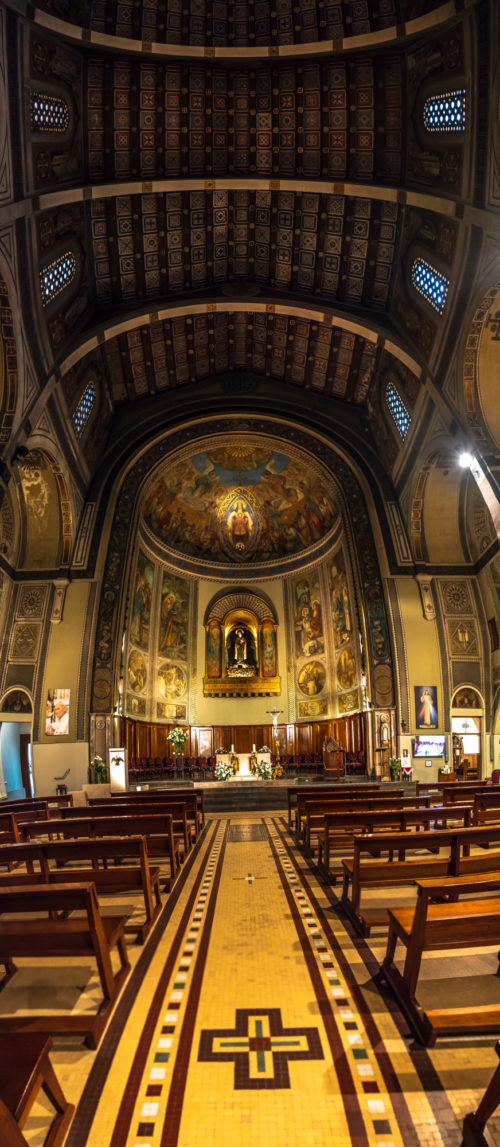
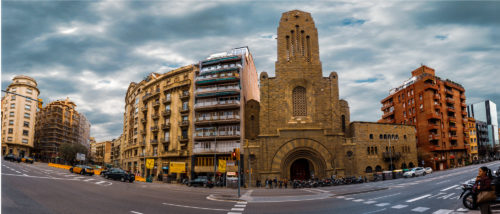
All three panorama you see in this article is from Parròquia de Santa Teresa del Nen Jesús, which is a historical church in Barcelona located in the district of Gràcia and faces Via Augusta. The photos used for the interior were taken handheld using Sony A7RIII using ZEISS Batis 25mm f/2 Lens. There are totally 12 photos as 6 photos in two rows taken using vertical format. The last one is a Vertorama (vertical panorama) where I have used 8 images captured vertically and stitched using the same method.
Here are the few tips to make the panorama as perfect as possible. Use a tripod to line up each shot would help immensely. Manually set your white balance, ISO, aperture and shutter speed as consistency between each frame is extremely important. Make sure your area of focus remains consistent throughout the series of shots. Use back button focus or autofocus and then switch to manual to lock it.
In the past, many of us who work on creating panoramas used to rely on third-party tools such as PTGui, since the only other alternative was Photoshop. However, once Adobe implemented the Panorama merging capability right into Lightroom, many photographers, including myself, started switching away from PTGui to Lightroom for two main reasons – simplicity and ability to merge panoramas to DNG files.
The resulting panorama is a DNG file means that I no longer have to worry about making any post-processing adjustments to images before I merge them – I can stitch a panorama with newly imported RAW images and if the panorama is worth working on, all the sliders and editing tools within Lightroom are available to use, unlike flat JPEG or TIFF files that cannot be edited with the same flexibility within Lightroom. With a powerful machine, I can even stitch high-resolution multi-row panoramas in Lightroom, and most of the time, it does a pretty good job with the stitching process.
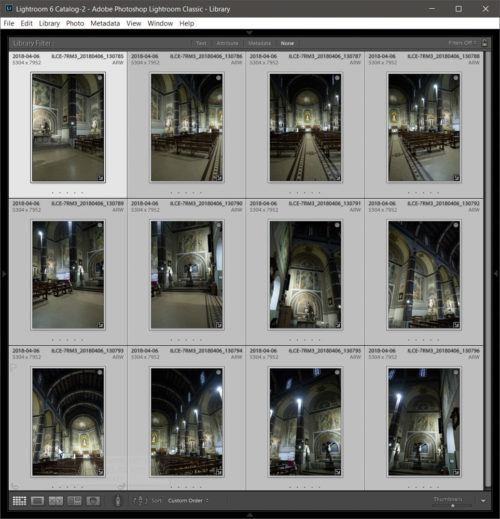
Start off by selecting images you want to stitch into a panorama. I do two changes before I send it for stitching panorama. I do correct white balance and do a lens correction on each of the files. If there is a vignette (usually an issue with ultrawide lenses) that too needed to be corrected before stitching them together. Once these are set, I will sync the setting to all the photos which will be sent to the stitching. You can see those steps below.
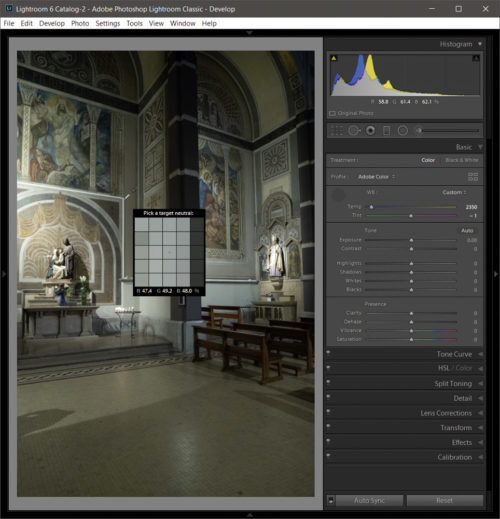
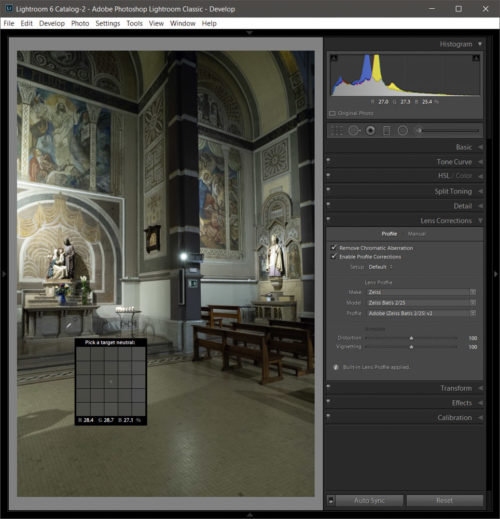
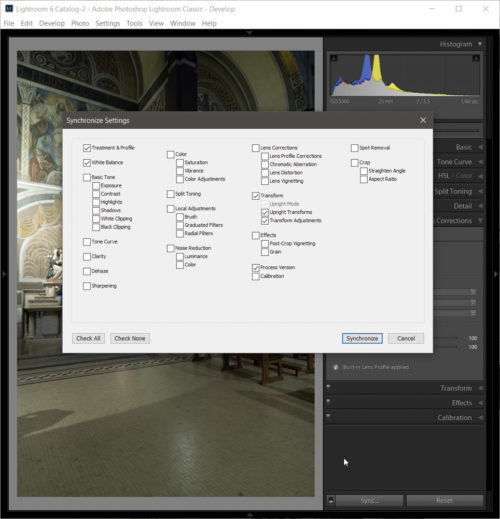
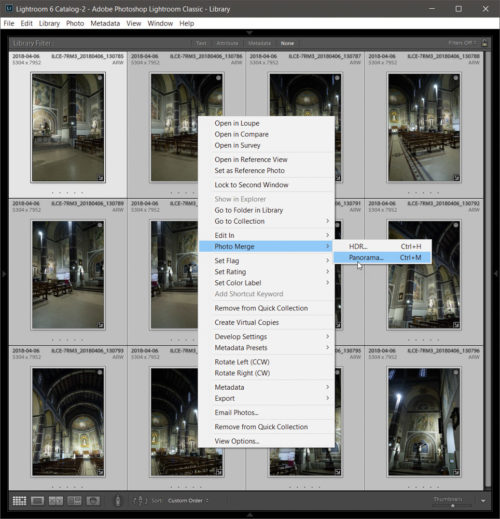
Lightroom’s built-in tool for merging multiple images is called “Photo Merge”. To launch the tool, select the images you want to stitch, then right-click on them and go to “Photo Merge” > “Panorama…” or go to “Photo” > “Photo Merge” > “Panorama…” in Lightroom menu.
The default projection is Spherical and for a good reason – most of the panoramas that you will be creating with Lightroom will be spherical. But what is the difference between Spherical, Cylindrical and Perspective projections?
Spherical Projection: the default projection option, which transforms images as if they were mapped to the inside of a sphere. Works great for wide and multi-row panoramas. When shooting close subjects, the spherical warp typically produces the most natural result without stretching anything.
Cylindrical Projection: this one transforms images as if they were mapped to the inside of a cylinder. It can work well for wide panoramas, but you have to be careful when using it, as it can significantly deform your subjects since it will try to keep vertical lines straight.
Perspective Projection: this one is typically best to use for architecture photography and specifically when stitching vertical panoramas. For wide horizontal architecture panoramas, it can be problematic to use, since it might bend lines at the edges of the frame, especially when shooting at shorter focal lengths.
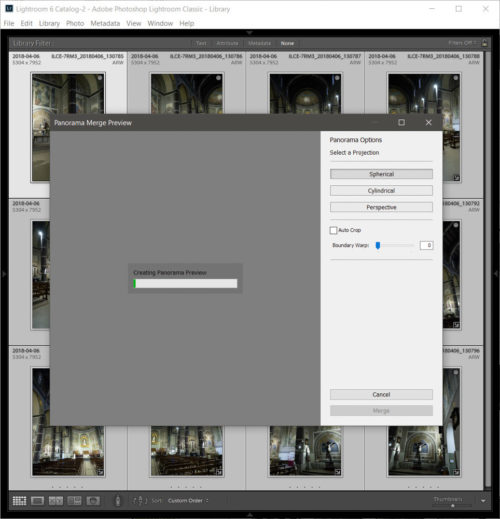
My recommendation would be to try the different projection methods to see which one works best for each panoramic image. Personally, I stick with Spherical projection most of the time, as it tends to produce the most natural-looking images.
Since most panoramas require stretching of images for the different projection types, you will often end up empty space towards the edges of the frame, as shown in the screenshots above. The option to “Auto Crop” can be quite useful in such cases – it will automatically detect those empty areas and crop the image accordingly, but it might crop parts of the image aggressively. You can manually crop later.
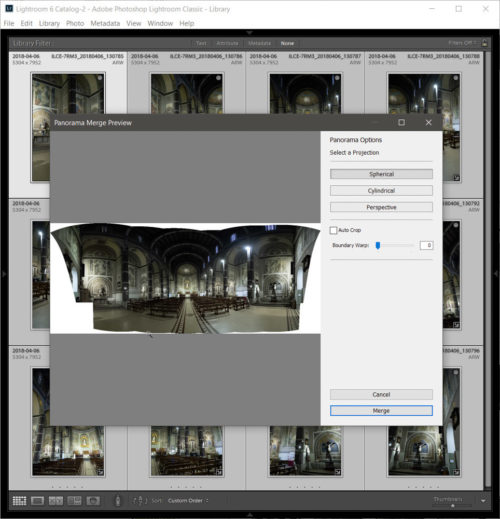
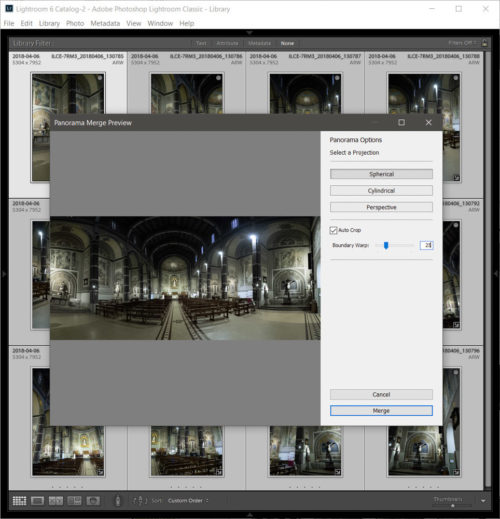
Another option that you can utilize in such situations is “Boundary Warp”. Boundary Warp is a relatively new feature in Lightroom, but a much-needed one. It warps the entire panorama so that it stretches towards the empty space and fills it. In cases where you do not have clearly defined lines or a horizon, the boundary warp can work very nicely, preserving most of the image and reducing the impact of the Auto Crop feature.
At 100%, there is no need for “Auto Crop”, because the image is stretched fully all the way to the edges of the frame. While such high usage of this feature can work in some panoramas, I personally find 100% to be a bit excessive for most panoramas, since it can stretch lines way too much. In the above example, I found the value of 25 for boundary warp to work the best, with Auto Crop checked.
While Lightroom often does a great job at stitching images, there will be cases where you might need to take a panorama into Photoshop to fix stitching and other warping issues. While this is a rather rare case, there might be situations where you might have slight parallax errors, some excessive warping that that needs to be corrected, or subjects that need to be cloned out.
Lightroom does provide a very easy method to stitch panorama if you have shot the original shots well. If your shooting is haphazard, then Lightroom will not help as it has no manual control to align shots. This is where the third party app like PTGui helps.


Nice info Dr. Krishi