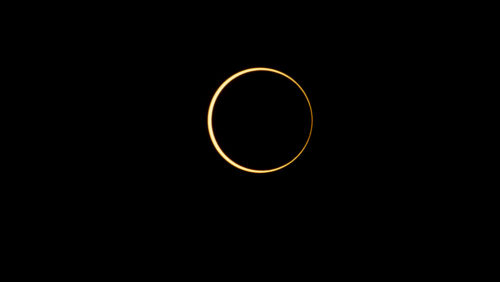
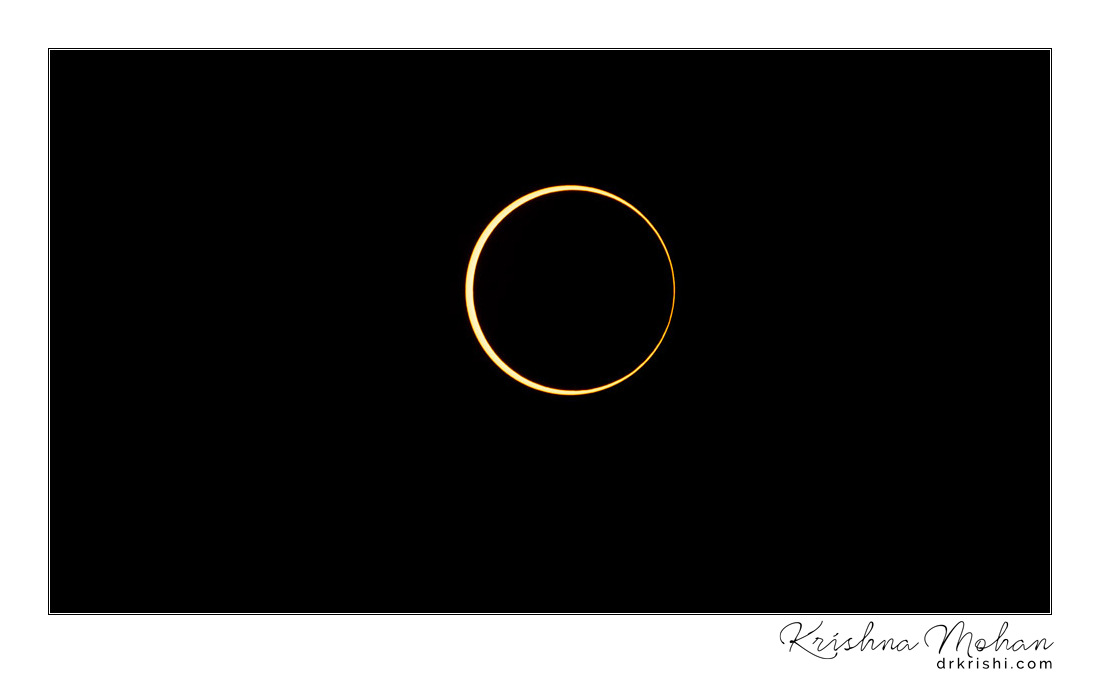
On Thursday, 26th December 2019, almost the whole of south India witnessed Annular Solar Eclipse. I was fortunate enough to be close to the path of the Annular Solar Eclipse. Even though my home town was just outside the path, I went to Mangalore which was just an hour’s drive to capture this spectacle. This blog is about how I captured it, how I made the composite and the time-lapse. I hope it will help others as the next Annular Solar Eclipse will be in North India on 21st June 2020.
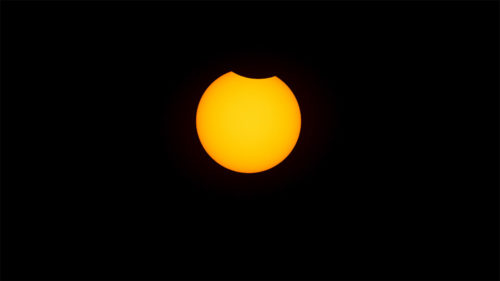
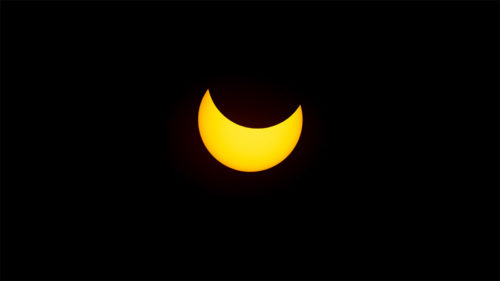
The gear I took for the eclipse is as follows. Sony Alpha 7R IV on Sony FE 100-400mm F4.5-5.6 GM OSS was used to capture. I mounted these lenses on my Gitzo tripod and Acratech GP2 head. I also carried a JJC intervalometer. Front of the Sony FE 100-400mm was fitted with 77mm Solar filter from Thousand Oak. I also wore solar goggles to prevent eye damage.
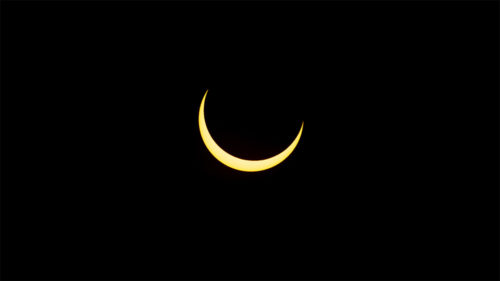
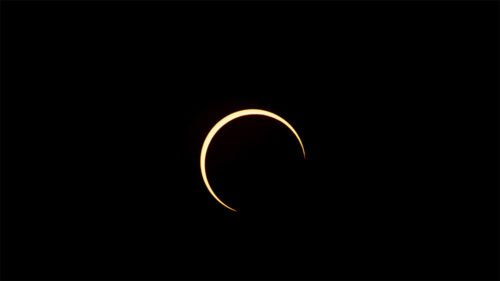
Naveen Chandra of Chandamama Observatory was very glad to welcome us for his house & observatory. It is on his rooftop I shot the whole eclipse sequence. As the predicted eclipse started at 8:04 AM. Moon started to cover the sun. By the time I started arranging everything I was 5 minutes late so shooting eclipse started at 8:09 AM. Using intervalometer I started capturing one shot every 30 seconds. As the full eclipse was to begin at 9:24 AM, I planned to capture once in 30 seconds till 9:22 AM and then shift to once in 5 seconds 9:26 AM followed by once in 30-second exposure till 11 AM when the eclipse ends. Overall, I ended up with around 380 captures.
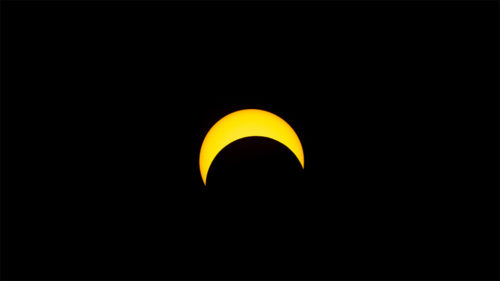
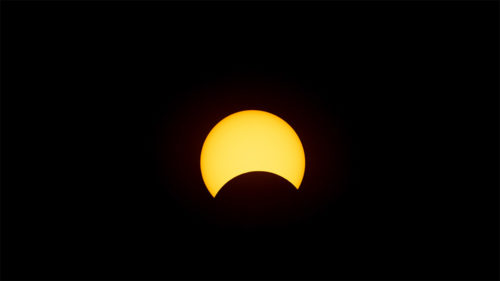
The focus was kept as manual focus. Sony cameras allow you to magnify and check manual focus. Once focus was confirmed make sure it stays in manual focus while making sure Image stabilization is also switched off as we are on a tripod. To prevent shake shutter was clicked via the intervalometer at regular interval. The exposure was 1/100th sec, F/8.0 & ISO 200. This measurement was taken depending on my solar filter. This will differ depending on the solar filter and its thickness.
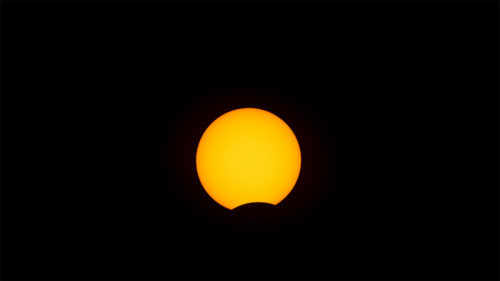
Since the Sun was locked on camera which was fixed to the tripod with each second sun was moving inside the field of my camera. So, every 7-8 minute I had to reposition the sun so that it was on the lower-left edge of the screen and by the end of those 8 minutes he would have moved to the top-right edge of the screen. This realignment was the cause of the big headache which I face later in post-processing. I thought by putting all the photos inside photoshop as layers and asking photoshop to auto-align layers would have worked. But my assumption was wrong.
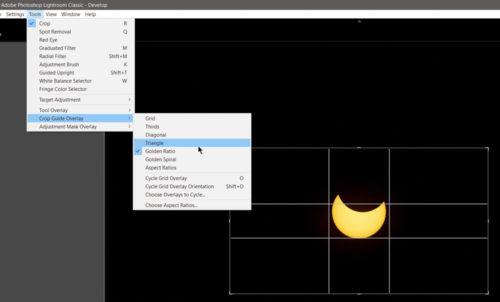
On a 400mm focal length, the sun would be around 3.7mm on my 35mm sized sensor plane. To fill the whole frame by Sun I would need over 3000mm focal length. Since it occupied a very small area (around 10% of the screen) I cropped it in Lightroom by using the Crop overlay and using Golden Ratio grid in Lightroom as you can see above. I also set the grid to 16:9 ratio as I wanted to create a video out of it which was of the same ratio.
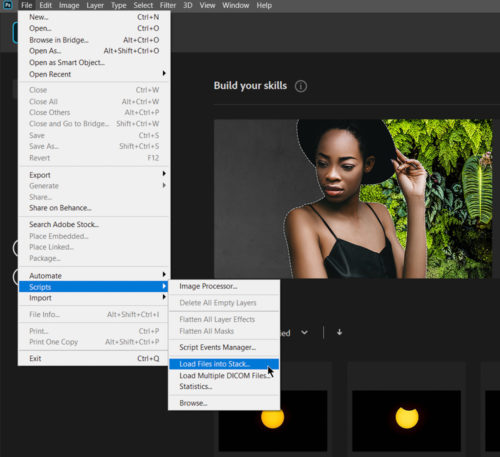
If I tried 380 Sony A7RVI’s raw files as layers in Photoshop, that would crash despite having the top of the line configuration. So I made Lightroom export those 380 photos as JPEG file and used Photoshop to import them.
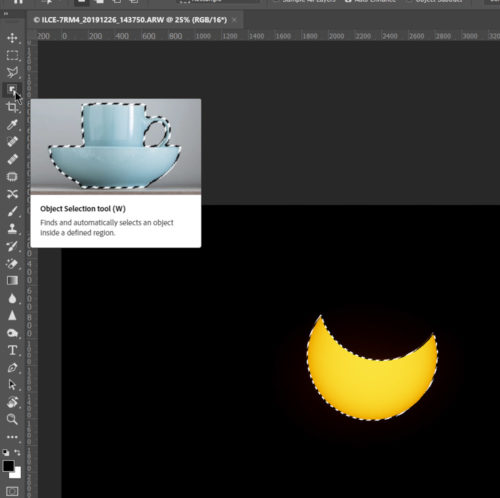
File > Scripts > Load files into stacks allows you to load several photos as a stacked layer. Once loaded, I tried to align all the layers. As I mentioned above, photoshop was unable to auto-align these photos.
Next task is to select and mask each of the solar images to isolate it from the dark background. Thanks to two of my friends Unmesh Dinda of Piximperfect and Mohit Shenoy, I was able to use the latest object selection tool from Photoshop 2020 which created a perfect selection of the Sun. Since I had to do this over and over again for 380 images. I created a macro and clicked it 380 times to get the task accomplished.
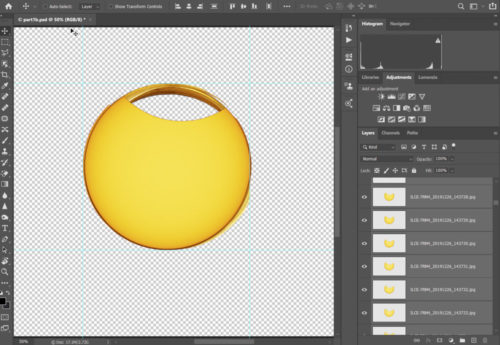
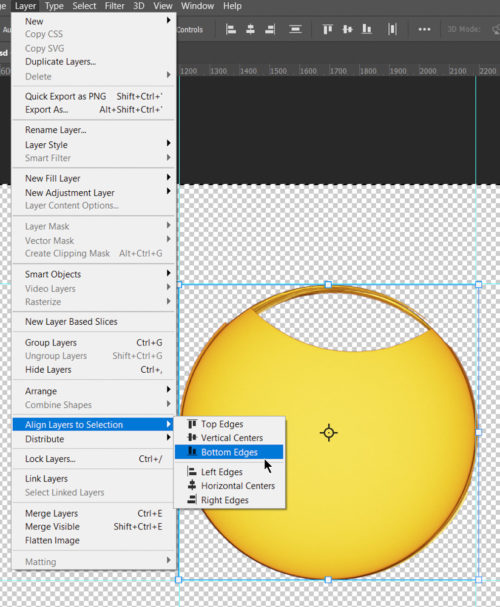
When you choose move tool in photoshop and select all layers you get an option to align them as a batch. To align multiple layers, select the layers with the Move tool or in the Layers panel. I made a selection in the first layer around the Sun, then select the layers in the Layers panel. Chose Layer > Align Layers to Selection, and choose a command from the submenu.
Now that we have a set of aligned images, it is time to create the time-lapse. Here is the time-lapse I created using all the 380 captures.
[youtube]Od79LVV9qms[/youtube]
If you want to know the method to create time-lapse, I would suggest this youtube tutorial by Benjamin Root Photography.
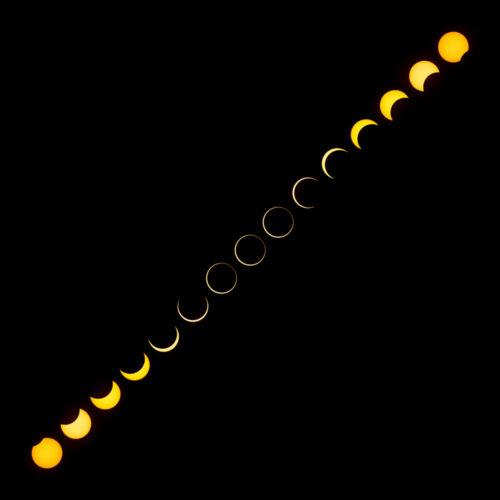
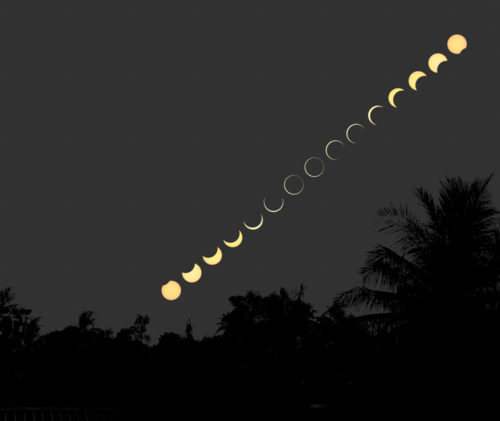
Here is the composite of the 15 different phases of this annular eclipse with a darker foreground.
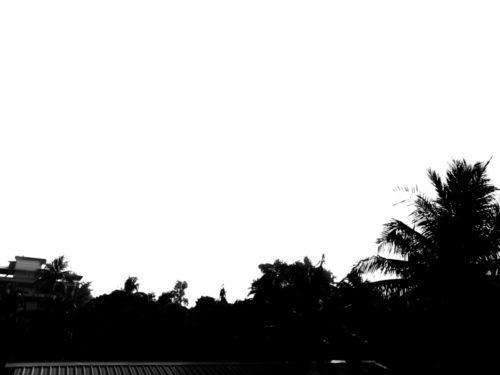
While we were shooting eclipse, I also captured the foreground trees and I added them to the composite.
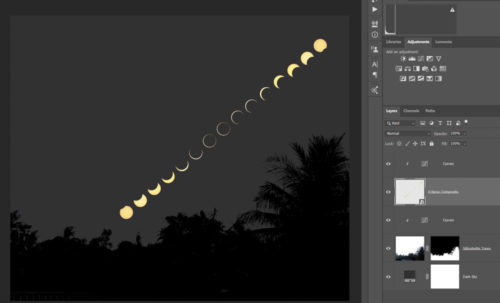
If you are interested in how I created the composite, please watch this tutorial by Clin Smith of photoshopCAFE.
[youtube]kGzI3gwI5ZA[/youtube]
If you have any queries or suggestion, please feel free to post.

Very informative and detailed workflow, thank you Krishi. Though it makes things overly simplistic, one must know it’s still a tedious process and there’s no shortcut ??
Thanks for the details which will obviously helpful to the ametutre astronomers to capture better photo.