Many photographers casually set up the tripod and use the various tilts and adjustments in a haphazard way. It is preferable, however, to be more methodical in setting up the tripod, if time and situation permit, to provide precise positioning of the camera and the greatest possible stability. ~ Ansel Adams, The Camera
On our Facebook photo critique forum, someone had asked set of questions regarding tripods and their use. Since the answer going to be longer than usual, I thought of converting it into a blog post. This will also benefit everyone who is curious to know about this three-legged thing sticking out of a camera. The variety of tripods are vast and tripods are used in both for still capture as well as Video. In this article, I am concentrating only on Still photography related Tripod legs only and I am not going to touch any brand specific details. Since the article went to be to become too detailed, I will be writing on Tripod heads in my future blog.
How to select a tripod?
Purchasing a tripod can be an overwhelming experience, given how many different choices we are presented with from small and compact, to large and heavy. I would suggest research on all the following points before plunging into the purchase. Almost all well-known tripod models are extensively reviewed. Go through multiple unbiased reviews before deciding them. Ideally, hands on testing of the tripod will surely help to pick the best one.
Weight Rating
Don’t make the mistake of buying a tripod that can only support a few kg and is not made for heavy camera equipment. What ends up happening is obvious – at one point or another, the whole thing collapses, destroying the camera and the lens. Always make sure that the tripod you want to buy can support at least twice more than the total weight of your camera and your heaviest lens. You might also add a flash or a battery grip to your camera in the future, or potentially shoot with something heavier, so you have to keep all of that in mind before choosing the weight-bearing capacity of your future tripod.
Leg Height
Buy a tripod that matches your height, so that you do not have to bend to look into the viewfinder. Once you put your camera on a tripod, the viewfinder should be at your eye level. It is fine if it is taller than your eye level because you can always adjust the legs to be shorter. However, if it is much below your eye level, you will find yourself bending all the time, which can be backbreaking, especially when you are waiting for some kind of action and need to constantly look through the viewfinder.
If you are buying a tripod with an attached head, you want the tip of the head to be on your jaw level. If you are buying a modular tripod with a separate head, make sure that the legs end approximately on your shoulder level. Also, consider its folded length which is suitable for easier travel.
Weight
Weight is a significant factor when choosing a tripod. You do not want your tripod to be too heavy. Else you will find yourself leaving it at home, rather than taking it with you on the road. The lightest tripods are made of a carbon-fibre material, which is extremely durable, stable and does not rust. While carbon-fibre is the best material for a tripod, it, unfortunately, comes with a high price tag. The next best construction material is aluminium, which is heavier than carbon fibre. Most cheaper tripods are made of aluminium today.
In terms of total weight, try to keep the tripod legs without the head under 2.2Kg. Generally, carbon fibre legs are between 1.3 and 1.8 Kg, while aluminium legs can be between 2.2 and 2.7 Kg and heavier, depending on the size and how much weight they can support.
Leg Sections
There might be between 3 and 5 sections on tripod legs. The more sections the tripod has, the less stable it is. But larger sections allow it to be folded compactly. Threaded twist-lock system or a flip-lock mechanism does not matter much and you can choose the one you are comfortable with.
Tripod Feet
There are different types of tripod feet for indoors (rubber or plastic) and outdoors use (metal spikes). Unless you are planning to shoot in icy, rainy/slippery conditions, the standard rubber feet that come with your tripod should work just fine.
Center column
Some tripods come with a Center column – a single leg in the middle of the tripod that allows you to increase or decrease the height of the camera by simply moving the Center column in upward or downward direction. I strongly advise against having a Center column on a tripod. A Center column defeats the whole purpose of a tripod – it is essentially the same thing as having a monopod on top of a tripod. The Center column should never wobble at its lowest level.
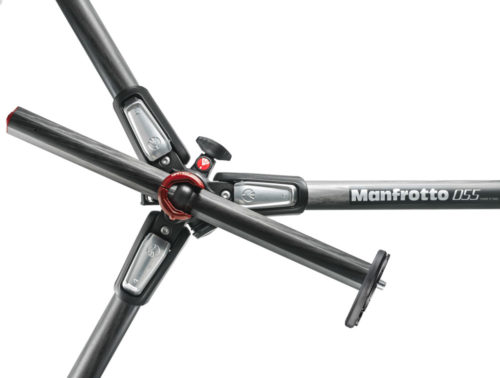
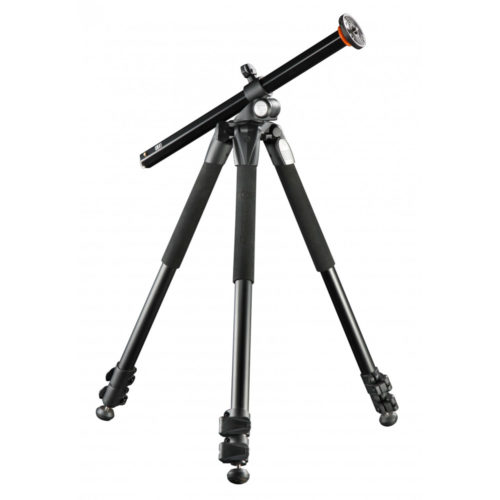
The one I have is Manfrotto 055 carbon fibre 3-section photo tripod. This and several other brands of tripod similar to it allow you to get the centre column into a horizontal position. This is very helpful for macro or food photography allowing you to place your camera over your subject.
Tripod Head
A tripod head is an essential part of the tripod system. It is responsible for securely holding camera equipment and controlling camera movement. A modular tripod system does not come with a head and you have to buy it separately. When choosing a tripod head, always make sure that it can support at least the same amount of weight your tripod legs can.
There are three types of heads commonly available:
- Pan-Tilt Head – either with a single handle for horizontal movement or dual handles for both horizontal and vertical movement. This is the most common type of head that is typically built into cheaper tripods.
- Ball-Head – compared to pan-tilt heads, ball-heads only have one control that loosens or tightens the grip. They are very flexible and allow very smooth operation while keeping the camera/lens securely tightened.
- Gimbal Head – a specialized head for long and heavy 300mm+ lenses. Compared to pan-tilt heads and ball-heads, gimbal heads perfectly balance the camera and heavy lens and are best suited for fast-action photography. They are extremely easy to use in any direction and do not require tightening the head every time the camera/lens moves.
Since the article went to be to become too detailed, I will be writing on Tripod heads in my future blog.
Quick-Release System
Every modern camera comes with a thread on its bottom that allows you to attach it to a tripod or a monopod (heavy lenses also come with a similar thread on the tripod collar). This threaded system makes it extremely inconvenient to attach cameras and lenses on tripods because you have to either rotate the camera or the tripod to attach them together. To make it easier quick-release system was invented. Most manufacturers ended up creating their own system of quick-release plates so as to keep customers with their own brand. Don’t get stuck into proprietary Quick-Release systems.
Stick to Arca-Swiss Quick Release System which became a standard and universal system. The quick-release plate is permanently attached to a camera or tripod collar of the lens, which then easily slides into a quick-release clamp. The locking mechanism is simple, yet super tight for a vibration-free operation.
Stability
A heavy tripod does not always mean that it is stable. There are plenty of tripod systems out there that are heavy and durable, yet lack the much-needed stability when used in various weather conditions. When a tripod is fully set up, it has to withstand not only the wind but also occasional bumps and knocks that might happen in the field. You always need to make sure that your camera and lens balance on a tripod rather than lean towards one direction, because you might end up damaging your equipment if the head is not fully tightened or if the front outweighs the back and everything falls on the ground.
In what situations will tripod help? When should we choose Tripod versus monopod?
Monopods are perfect for taking the weight of a heavy lens/camera combination to stop aches and pains from a long day of shooting. Monopods also offer much more versatility in movement as you now have only on one leg, not three, and they are much quicker to set up than their three-legged brethren.
But Monopods are not suited for anything else because they are not stable. Every time you want to stabilize the camera & lens, you will find tripod is the tool to go for. In fact, there is no genre of photography where a tripod is not indispensable. If you are looking for well composed, stable and sharp photo, look no further than a tripod & good head combination.
So, what is the purpose of a tripod? You might need a tripod for some or all of the following reasons:
- To increase sharpness and depth of field in your images by keeping the camera still in low-light environments when using slow shutter speeds.
- To rest heavy camera gear such as long telephoto lenses on the tripod.
- To increase the quality of the images by keeping the camera ISO low.
- To allow more careful composition, while framing the shot exactly how you want it.
- To shoot HDR and panoramic shots that require exactly the same framing and precision.
- To photograph night-time objects such as the Moon, planets, stars, etc. as well as painting with light or using available light for landscape and architectural photography.
- To do self-portraits with a camera timer.
- To shoot extreme close-ups/macro (flowers, insects, etc.).
- To hold various objects such as flashes, reflectors, etc.
- To shoot at difficult or impossible (hand-held) angles.
- To shoot vibration-free videos.
- To defend yourself 🙂
However, there are also some disadvantages of using tripods, specifically:
- They are potentially heavy. Although there are lightweight carbon-fibre tripods out there, once you add a tripod head, the setup can become heavy.
- They are inconvenient. No matter how small and collapsible a tripod is, it still occupies space and is often inconvenient to carry around or travel with.
- They are difficult to use in crowded environments.
- They can be expensive. Good tripod systems can cost over $1,000.
- They can take time to set up, making you miss the best moment.
- You can easily damage your camera and lens if you do not know how to properly operate a tripod, or if the tripod system is cheap and unstable.
- There are several protected areas where unfortunately tripods are banned to be used.
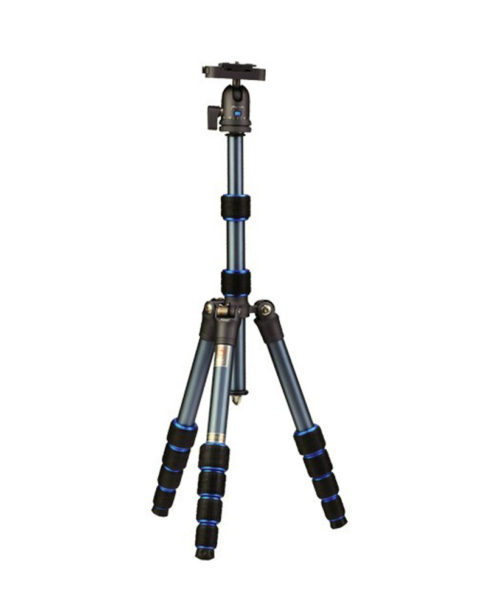
How to use a tripod effectively?
One of the major pitfalls with tripods is developing tunnel vision for framing and composition. Many of us fully extend tripod legs, set up the camera and then start framing and composing our shots. That will result in you having the same angle and composition for every picture you take.
Before you set up your tripod, walk around the area, look for good angles and work on the composition with your camera hand-held. Drop down, look at lower angles or move higher up and look for a different perspective. Once you figure out what your shoot will look like, only then open up your tripod and mount your camera on it. Do not let your tripod hinder your creativity and dictate your framing and composition!
Now that you have your shot framed and composed, let’s now talk about proper usage techniques:
- Tripod Placement and Leveling: Before you start setting up the tripod, first identify where it will be placed. While most locations have firm and flat grounds making it easy to set up a tripod, some places can be very tricky, requiring some of the tripod feet to be extended shorter or longer to be fully secure. Always make sure that the tripod base is properly levelled – use those bubble levels on the tripod legs. You want the load in the centre of the tripod to be distributed evenly to all three legs. The last thing you want is accidents with your gear crashing down! Also, be extremely careful about placing tripod feet on anything that moves or can potentially break (thin ice, sand, fragile twig etc).
- Extend Thick Leg Sections first. All tripods are quite thin on the bottom legs. If I only need to use one or two sections, extend the thicker ones only, because it will make the tripod more stable.
- Spread the Legs: All tripods will have stopping locks where the legs will not spread any further. Always make sure to spread those legs all the way until the lock holds. Keeping them halfway may make tripod sag while taking the capture.
- Leg Placement: When placing your tripod, it is a good idea to point one of the tripod legs towards the subject/scene middle, so that you could stand between the other two legs.
- If you do use the centre column, always make sure that the tripod base is levelled so that the centre post is in vertical orientation – you do not want to angle it, as the weight of the camera might make your tripod fall on the heavy side.
- Secure Your Camera / Lens Tightly: To avoid potential accidents, always make sure to secure your camera or lens tightly. Once you mount your gear, hold it with your hands and try to move it. There should be no wiggling or shaking of any sort.
- Camera L Bracket: When mounting your camera on the tripod head, it is always a good idea to use an L Bracket instead of a single plate on the bottom of the camera. With a regular plate, your camera will be heavier on one side in portrait orientation, which might not be secure. L Brackets can be expensive, as they are made specifically for each camera, but they are worth the investment in the long run.
- Long / Heavy Lens Mounting: If you are using a heavy lens, always make sure to mount the lens on your tripod using its tripod collar, instead of mounting your camera and letting your lens hang off the mount. Not only will you keep your camera safe from potentially breaking or bending the lens mount, but you will also end up with a much more stable setup.
- Tripod Hook: If your tripod is equipped with a hook on the bottom, or perhaps in the centre column, hanging your camera bag or a sandbag can provide extra stability. However, if it is very windy and your bag is not heavy enough, it could have a detrimental effect, potentially destabilizing your setup.
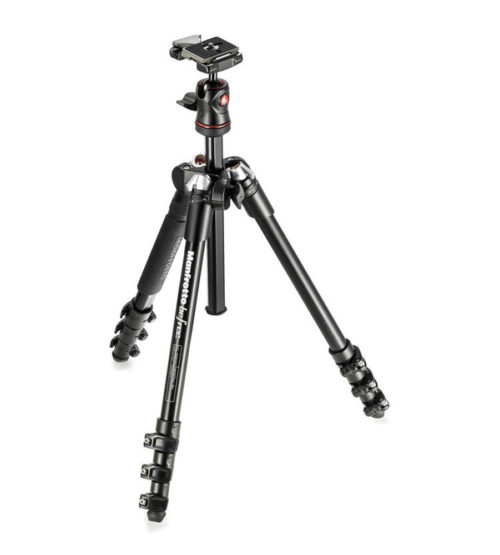
When not to use or can’t use Tripod?
As with anything, there are drawbacks to using a tripod. Having a tripod is going to slow you down. You have to set up the tripod before you get the shot and that may cause you to lose that spur of the moment pictures.
The cheapest tripods are not always the best to buy because they may wobble, and they may not have a level for you to see that everything is even. They also break easily and can result in you just spending more money.
If you are photographing a crowded place, or in a tourist attraction with a lot of people, the tripod may get in the way. People will bump into it and it will become a hassle. Some places don’t even allow tripods because of the tripping hazard that they create. There are several places tripods are not allowed to be taken or considered damaging to the structure.
The tripod is a clumsy contraption. You have to carry it around, it may result in you accidentally hitting people, and it is just going to be in the way. Think both about the positive and negatives before of carrying tripod.
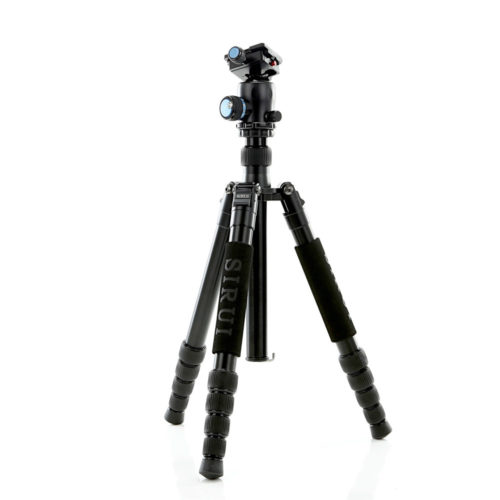
How to carry Tripod effectively?
You might have seen bird photographers carrying tripod legs over the shoulder when still connected to the large telephoto lens. Their sheer laziness of dismantling assembly of the lens with the camera from a tripod can be very dangerous. I have a personal experience where I had mounted my Canon EF 300mm f/2.8 L IS USM Canon EOS 1D Mark IV body and lifted the tripod without dismantling it. I think I had inadvertently loosened the quick release plate screw and as I stood up to move away, I heard the crackling sound of 1D Mark IV with 300mm crashing to the granite rock behind my back. The top of 1D Mark IV took all the impact and viewfinder assembly along with hot shoe mount got cracked. It had to be replaced, fortunately, 300mm lens was unharmed in the process.
Never carry assembled camera & tripod setup on your shoulder. You are straining the Quick release as well as ball head assembly which is now exposed to a lateral force which it is not designed to ( from the side). Disassemble both tripod & camera and carry them separately. Many bags now have straps to hold tripod externally. You can also get dedicated bags as well as carry straps for tripods.
What is the important consideration? The weight of tripod versus cost versus stability?
This is a call every photographer should take for themselves. If you have enough money to spend, buy the best tripod available in the market. Heavy trekking with tons of gear it is wiser to have a carbon fibre tripod which expensive but lighter. Between all this, I would go for the balance of both weight & cost without sacrificing stability.
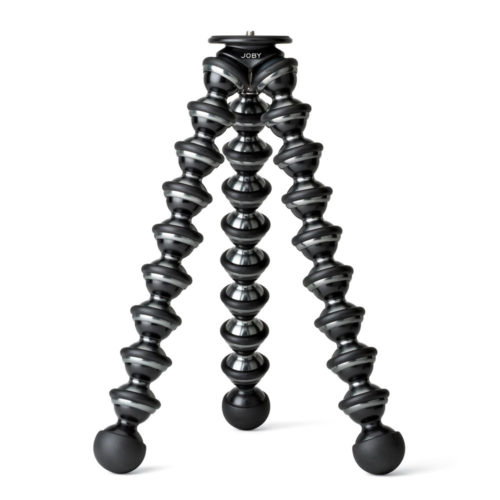
Does Brand name of tripod make any difference on quality? Can I buy less famous brands?
There are several brand names which produce quality tripod. Go through the reviews and choose depending on the points I have mentioned above rather than the brand names. Make sure about the serviceability and availability of spare parts. Decide on service and warranty when buying tripods as they last decades, unlike cameras bodies. Don’t buy el-cheapo, no-name brand tripods which do not have any reviews, since you cannot be sure of the quality of the product.
Some well-known companies selling quality tripod are –
- 3 Legged Thing – https://www.3leggedthing.com/
- Benro – http://www.benrousa.com/
- Feisol – https://www.feisol.net/
- Gitzo – https://www.manfrotto.com/gitzo
- Induro – http://www.indurogear.com/
- Joby – https://joby.com/
- Manfrotto – https://www.manfrotto.com/
- MeFOTO – http://www.mefoto.com/
- Nest – https://www.nest-style.com/
- Oben – http://www.obensupports.com/
- Really Right Stuff – http://www.reallyrightstuff.com/
- Sirui – http://www.sirui.eu/en/home/
- Slik – https://slikusa.com/
- Vanguard – http://www.vanguardworld.us/
- Velbon – http://www.velbon.biz/
Is Travel tripod any different? Is there a multi functional one?
Travel tripods as the name suggests are compact, lightweight tripod which helps to support your gear while not burdening the backpack too much. If you buy a very small tripod, it might not be stable. Go through reviews and look for stable and yet compact version which comes in the budget. I usually have 2 -3 tripods. Large and heavy ones I use for my regular work. When I need to travel light, I carry my travel tripod. If you are travelling with small focal length camera or mirrorless with lighter lenses (which is what I usually do), you don’t need a high weight rating tripod. Nest, Sirui, MeFOTO, Manfrotto, Gitzo all make great travel tripod.
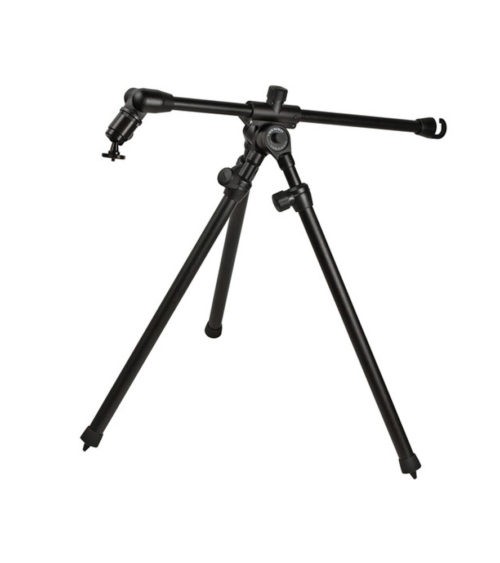
There are several multi-functional tripods. There are two unique multi-functional tripods which allow a great manipulation of their legs – Benbo & Uniloc. Benbo and Uniloc tripods are very similar in design principle and both made in Britain. I understand that the people who designed the Benbo tripod left the company to form Uniloc. I haven’t used both of them so I cannot comment much on them but was always fascinated by the versatility of this design. They are said to be rock solid, waterproof. Taking it down has been described as trying to get an octopus into a string bag until you get the knack. Unfortunately, I don’t see both of these brands being sold anymore.
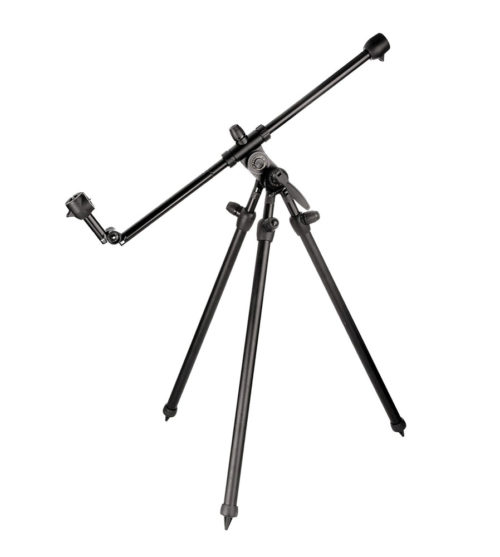
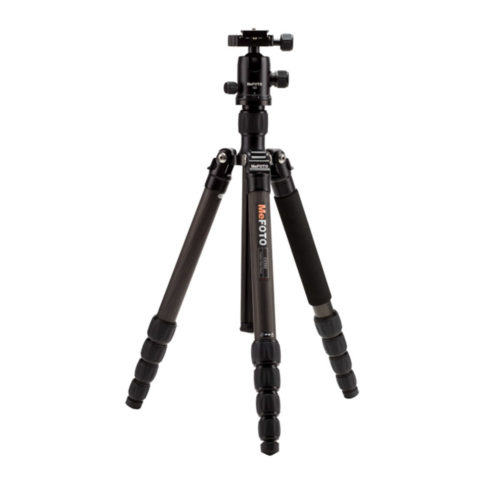
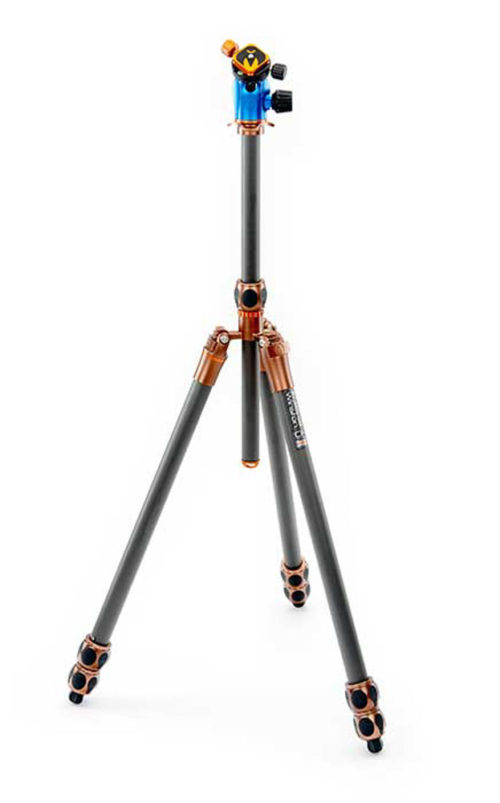
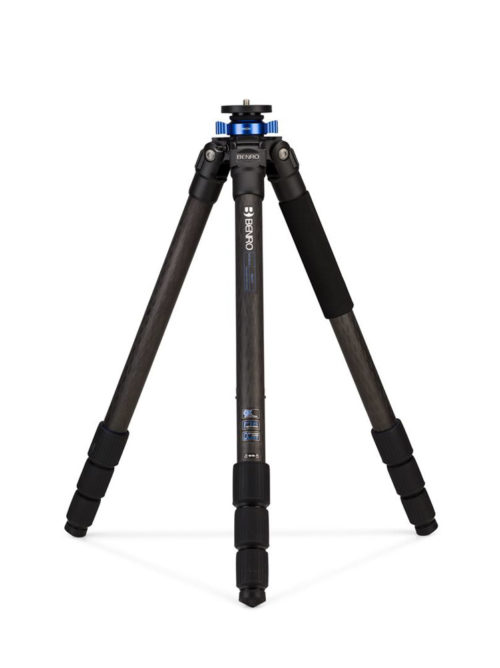
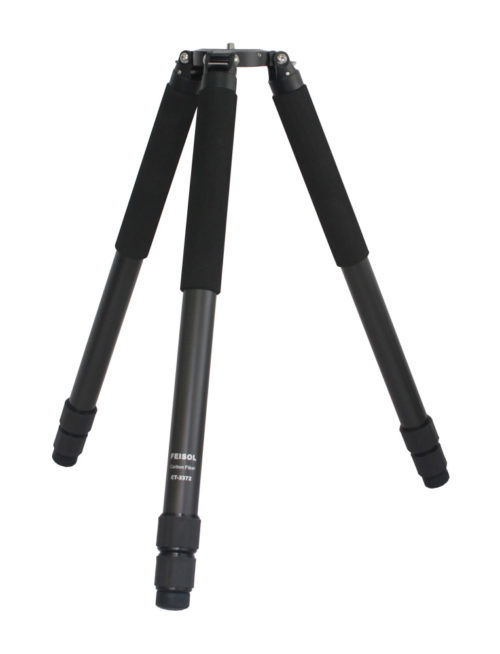
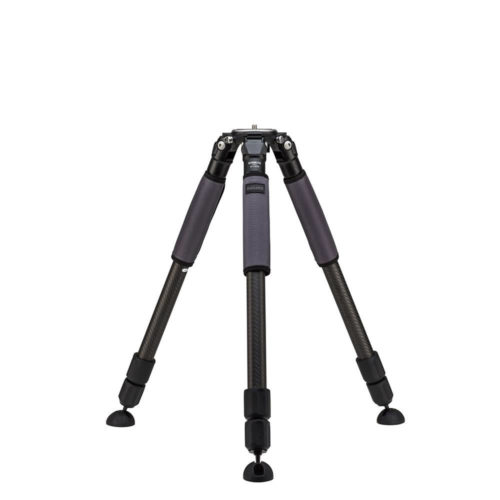
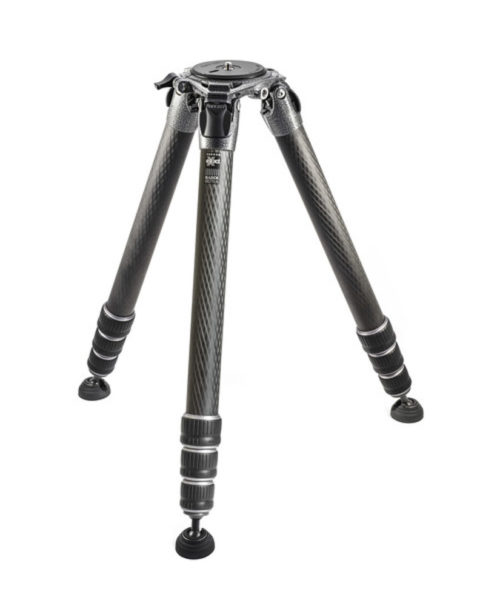
Please note – Photographs of tripods are used from their respective company websites. I do not endorse any of the tripods mentioned here and they are purely for illustration purposes only.

Very comprehensive useful information presented in a concise manner Doc. Thank you.
Generally I find most Tripod manufacturers give the weight bearing capacity of the Tripod when it is mounted with single column. When we extend all the columns, in general, the real weight bearing capacity comes to 33% of the capacity rated by the manufacturer.
Very useful information. I would like to buy one which can be used for any of the heaviest lens with out any problem. Cost is not a issue. Kindly suggest.
Lovely article Krishna. I have a tripod that my late fil had got many years ago. It is unfit for most stationary photo shoots since all parts on it shake.
But then I hardly use it. And when I do I use a remote clicker so that the darn thing doesn’t shake when pressing the shutter button.
Completely missed the great wooden tripods that are still made and used by many top photographers across the world.
Thanks and wonderful Info, For the Birding 500mm prime with Cam, Which is the best Tripod and Gimbal Head? Approximately 15 Kilos with stable legs?
Please suggest me.
Dear Willie,
I agree I missed it. My intention was to talk about tripods which are currently used. Wooden tripods are not portable like the aluminum & carbon fiber. In fact i did not go in details regarding Carbon fiber & aluminum. There are so many resources on the web which mention all these. I am yet to see one which is being used in my surrounding to write. All the tripods I have mentioned are used by me at some point of time or the other. Thanks for mentioning about Wooden tripod. I wood love to use one.
Any sturdy tripod like the Benro, Feisol, Sirui, which do not have the center column are best option legs for you. Make sure the leg’s height higher than your chin level when fully extended. Wimberly, Sirui, Benro, Manfrotto as well as Mongoose makes great Gimbal heads. I presently have Mongoose.