Five days back at Mobile World Congress in Barcelona, Adobe announced the newly revamped, free, Lightroom Mobile application for Android. With version 2.0 they are bringing a bunch of new exciting new features into this Lightroom Mobile. Since I was conducting Workshop on Adobe Lightroom, Sunday March 6th, I decided to do a brief review of the features of this nifty app.
The new Lightroom Mobile app has a built-in camera, just like the IOS version. It allows you to take photos that automatically appear in the Lightroom App. If your camera is capable of doing raw capture (mine was not) Lightroom Mobile is able to capture in new RAW image file support (DNG to be exact), giving you much more freedom to edit and push your images than with the standard JPEGs coming out of your mobile device. Not all smartphones will be able to shoot RAW, but any recent Android device running Lollipop or better, should be able to get in on the action.
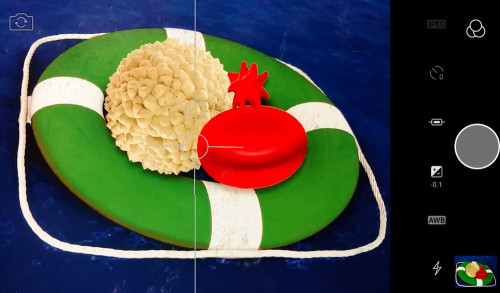
The Lightroom for Android UI is fairly simple and straight forward. Once you are in the LR Camera, you can achieve focus and get an exposure reading by tapping on the screen within your frame. Here are the components of the capture which you are able to control. Even if your camera is not capable of raw capture, I think it will be a nice tool as it allows much more fine grained capture of the photo.
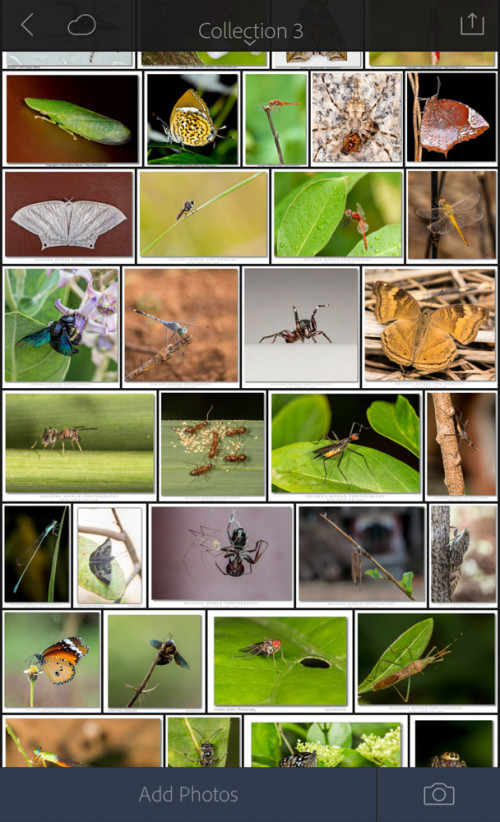
You can also browse the collections in your Desktop Lightroom catalog if you have synced with Lightroom for Android. You can edit those photos just like the one you have captured.
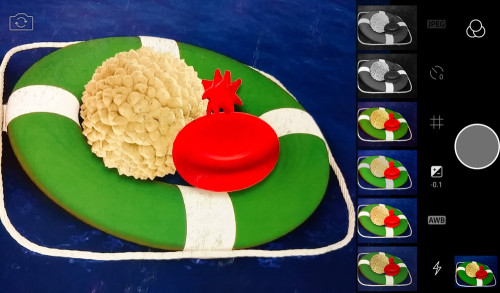
Shoot Through Presets (Three Circles) is one of the coolest new features allows you to apply real time adjustments to your image. There are six different options ranging from punchy colors to black and white conversions. All of these adjustments are non-destructible so they can be change when editing the image in Lightroom Mobile.
With this version, photo editing with the new LR Mobile for Android is improved considerably. With LR Mobile taking full advantage of the power of ACR (Adobe Camera RAW), there is a lot of photo processing capability built in now. While LR Mobile is a 100% free mobile download, you need to have an Adobe Creative Cloud account (which isn’t free) in order to take advantage of LR Sync. All of edits will sync to your Desktop if you are an Adobe Creative Cloud subscriber. Here you can see the desktop collection synced with Mobile version.
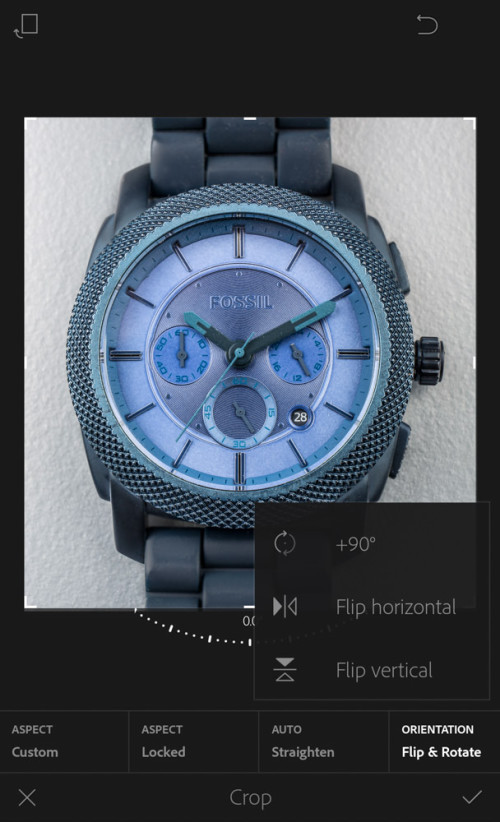
Cropping tool is now enhanced with “Auto Level Horizon”. Just as it sounds, this tool does a great job of leveling your crooked horizons. Tap the feature found in the crop tool and it works like magic!
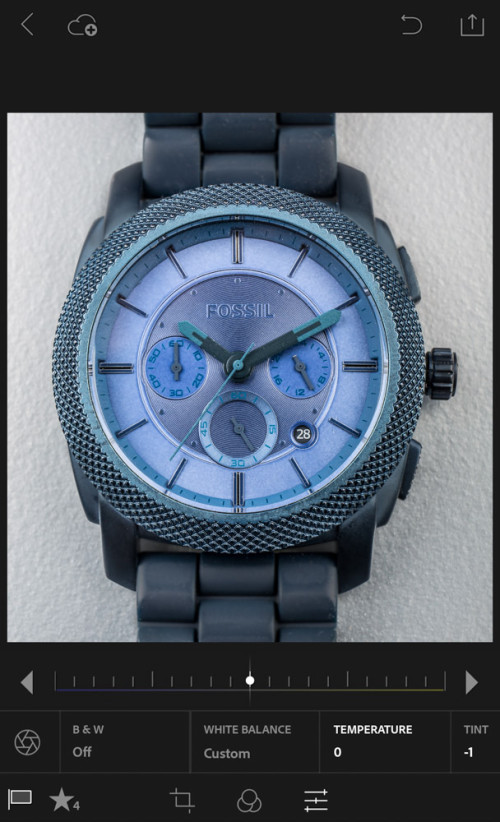
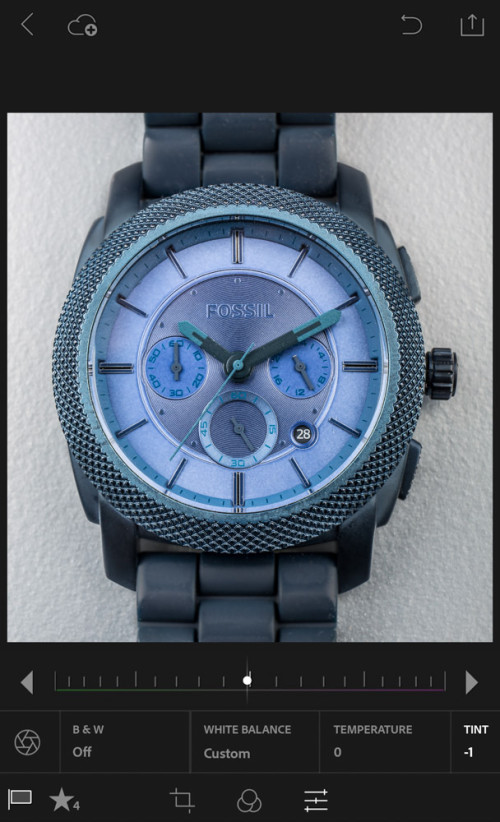
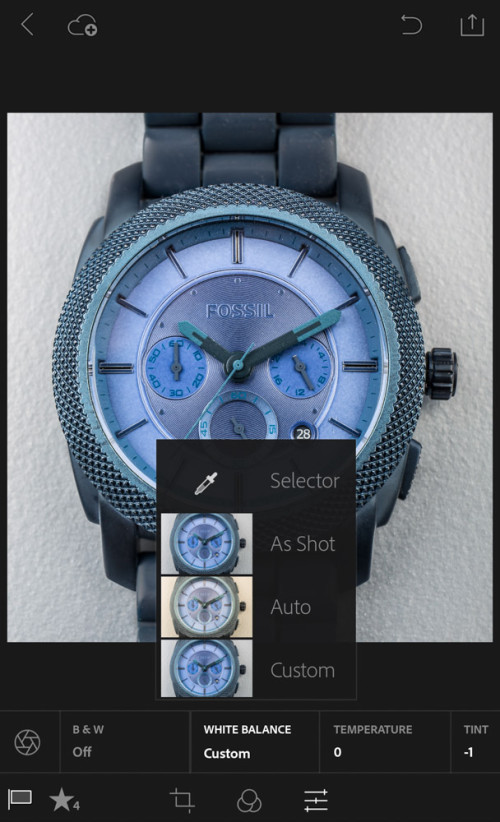
White balance adjustment has been enhanced quite thoroughly. Even though you can choose white balance while shooting, here in post processing, you can choose temperature and tint and make the picture look better.
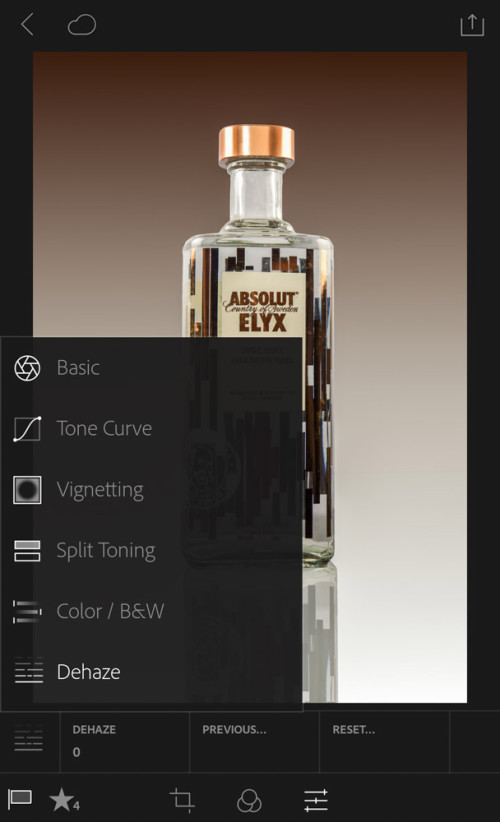
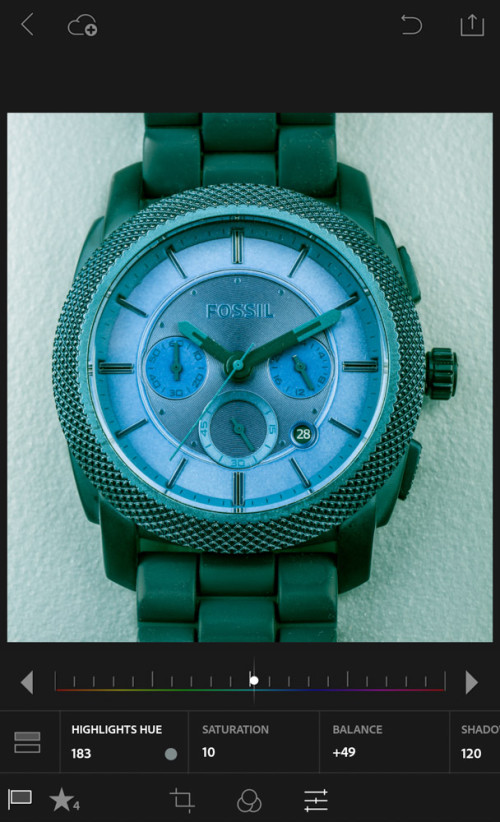
Split Tone helps to add a slight color cast to your image, check out this adjustment that lets you segment out the color tone applied to both the highlights and shadows. Want to add a golden/blue dual tone to a portrait to make it artistic, not a problem.
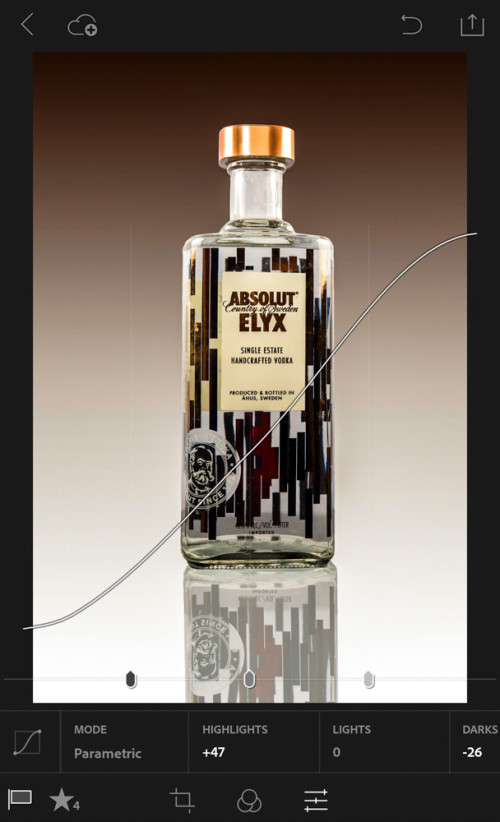
While you used to be somewhat limited in the functionality of the Tone Curve adjustment, you can now use points to subjectively adjust the shadows, mid-tones or highlights of your image. Additionally, you can adjust the tone curve of the RGB color spectrum or each of the individual colors (Red, Blue or Green) just like you can with the desktop version of Lightroom.
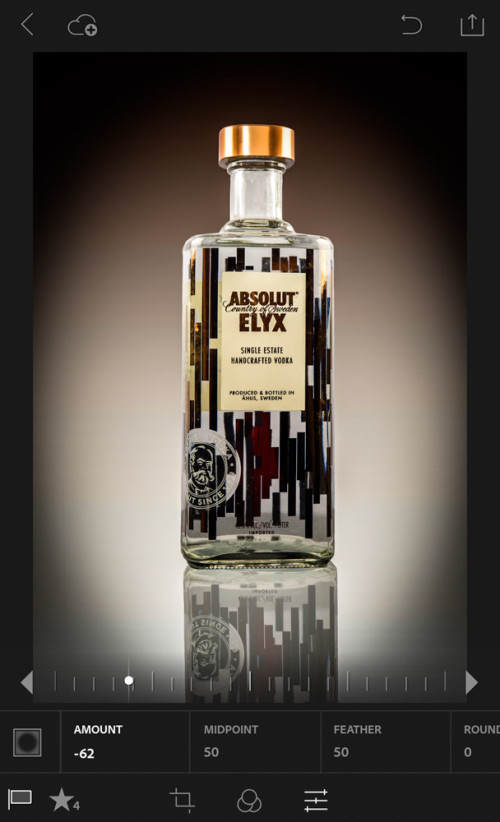
Vignette tool helps to add the much needed post crop vignetting around the edge of the picture so as to make subject highlighted.
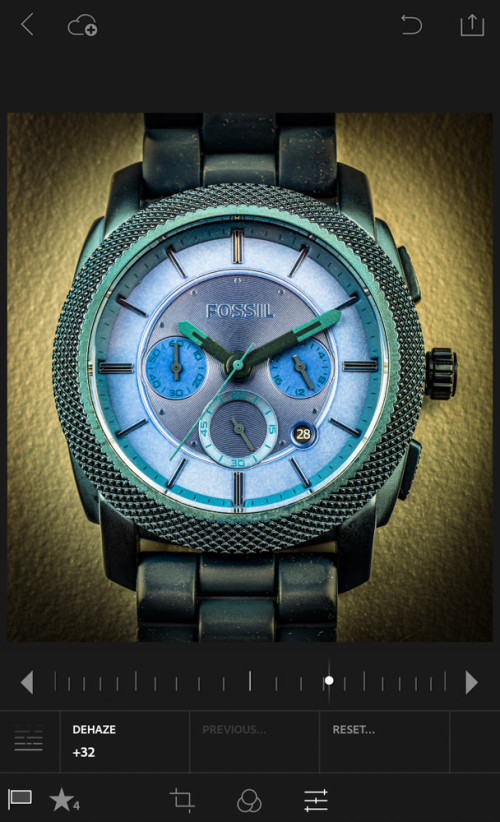
One of my favorite new tools is Dehaze. With it you can easily remove haze from your images and help them pop a bit. This feature was added to the desktop version of Lightroom not too long ago so it is nice to see it come here so quickly.
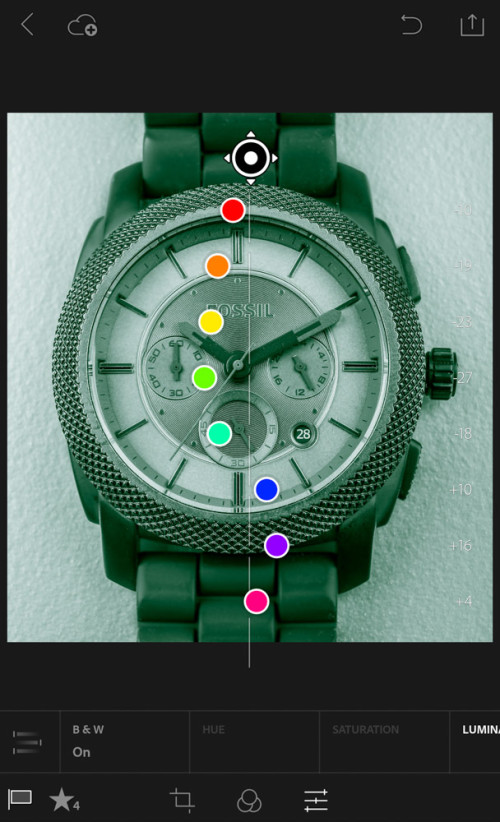
In the Color/Black & White tool you know can make very specific target adjustment using the color sliders. Want to increase the saturation for Green but not Blue? No problem. Want your landscape shot to have an Ansel Adams feel to it? Start adjusting the Red and Blue sliders once you have converted it into B&W and you are off to a good start.
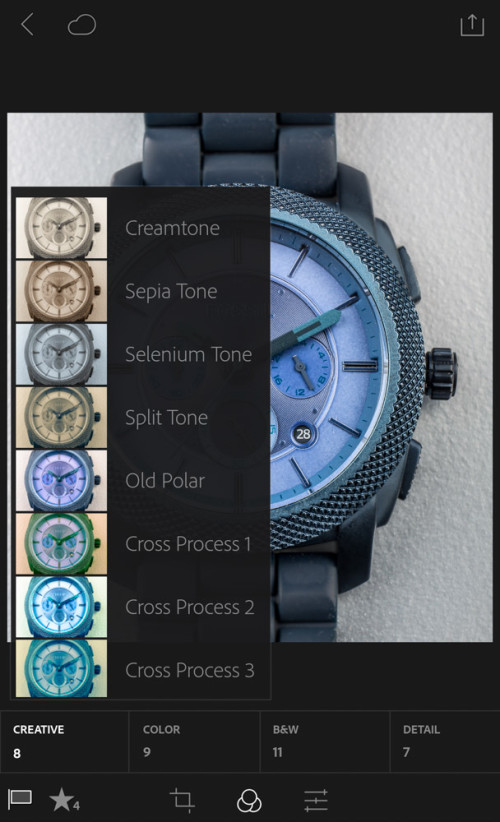
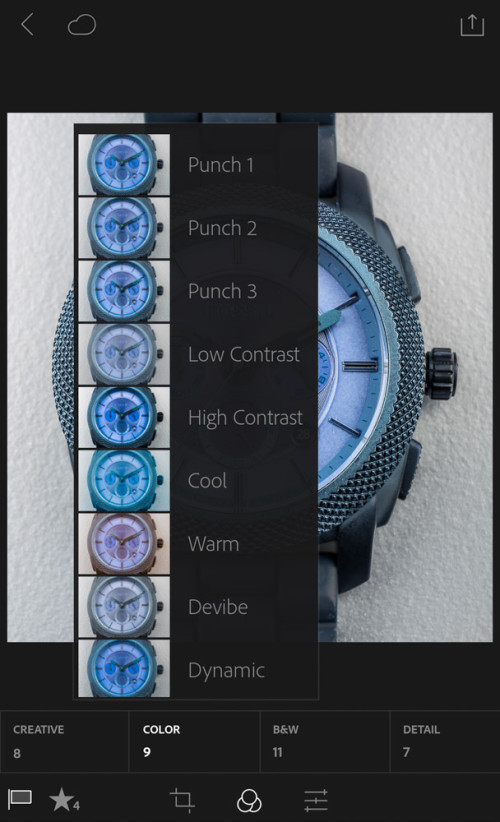
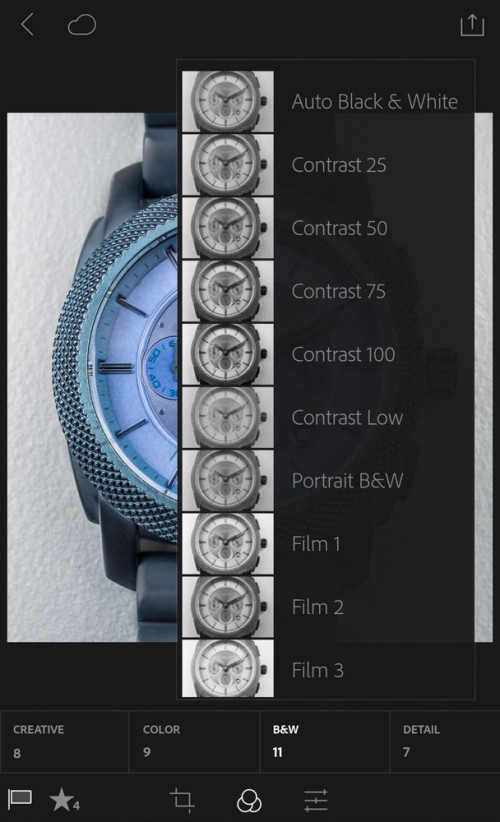
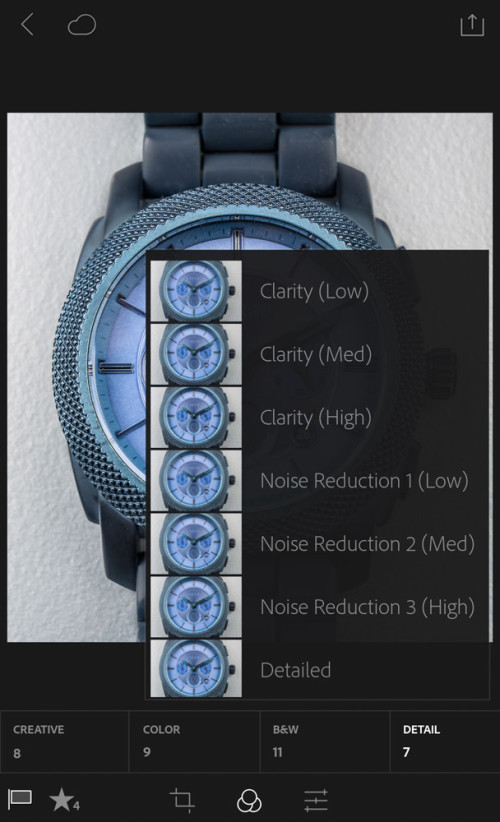
All the default Lightroom presets are now available at just a click of the button. You can also customize each one of them. You can also create one of your own preset.
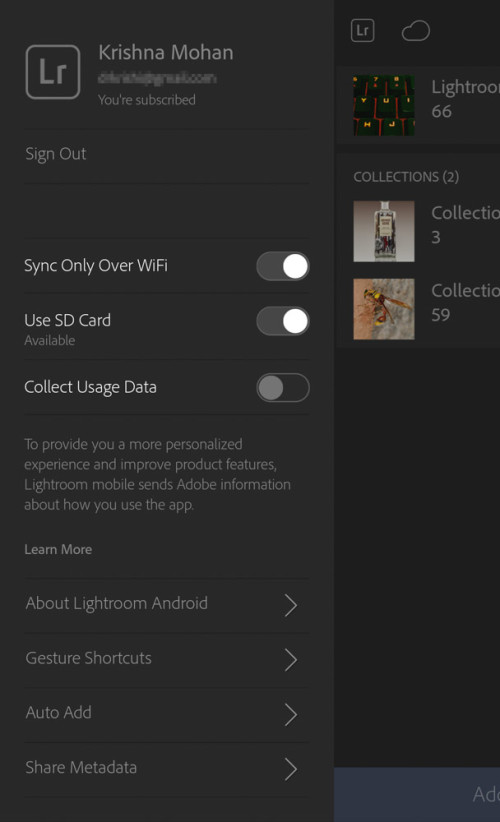
As you edit your DNG files in LR Mobile, all of those non-destructive edits are saved inside your DNG files. When you edit JPEG, same settings are shared with the desktop catalog (using sync) and you can continue editing them further on desktop. Since the calibration of the mobile screen is nearly impossible task, I don’t recommend doing color critical work on mobile phones or tablets. But it will serve as a good starting point for your edit. Since you can alter the edit done in the app any time either in the phone or over at desktop, there is no need to worry.
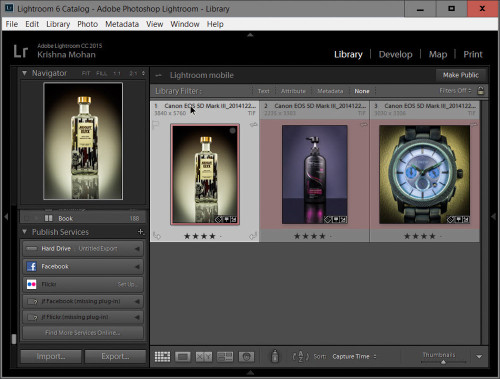
Syncing is a great method to take advantage of both LR Mobile and the Desktop version of Adobe Lightroom for your mobile photography work. Anyone is free to try out the new version, which is available now in the Google Play Store.

Good Nice Explanation Dr Krishi.
Nice. But I feel the sync option is not meant for us in India with limited Internet data.